Description
Build and secure your network infrastructure in Azure with the second blog in this series. Explore the process of creating a virtual network on Azure and deploying virtual machines within it. Learn how to establish communication between these machines, enabling seamless data transfer and collaboration. Discover different methods for creating virtual machines, including templates, PowerShell commands, and the Azure CLI, and gain insights into their differences and similarities. Finally, enhance the security of your network by implementing network security groups to protect against unauthorized access and secure network traffic.
The virtual network in Microsoft Azure allows you to accomplish important tasks, such as:
- Connecting Azure resources to the internet.
- Enabling communication between Azure resources.
- Connecting with resources located on-premises.
- Filtering network traffic.
- Routing network traffic.
- Integrating with Azure services.
Table of Content
- Task 1: Create a virtual network
- Task 2: Create a VM with these conditions.
- Task 3: Secure network traffic
Task 1: Create a virtual network
Virtual network and subnets can be thought of as different sections within a network. A subnet is a specific range of IP addresses within a virtual network. By dividing a virtual network into subnets, we can better organize and secure our network.
Each network interface card (NIC) in a virtual machine is connected to a subnet within a virtual network. NICs that are connected to the same or different subnets within a virtual network can communicate with each other without needing any additional configuration.
When setting up a virtual network, we define the structure, including the available address spaces and subnets. It’s important to choose non-overlapping address ranges, especially if the virtual network is connected to other virtual networks or on-premises networks. The IP addresses used in the virtual network are private and cannot be accessed directly from the internet. These addresses are only reachable within the virtual network, between interconnected virtual networks, and from your on-premises location.
If there are other people responsible for the internal networks within your organization, it’s essential to coordinate with them to avoid overlapping address spaces. Make sure to communicate the address space you plan to use so there are no conflicts.
By default, there are no security boundaries between subnets, and virtual machines within each subnet can communicate freely. However, if your deployment requires security boundaries, you can use Network Security Groups (NSGs). NSGs allow you to control the flow of traffic to and from subnets and virtual machines, providing additional security measures.
You are to create a virtual network on Microsoft Azure cloud service, deploy two virtual machines onto that virtual network and then configure them to allow one virtual machine to ping the other within that virtual network.
Virtual Network
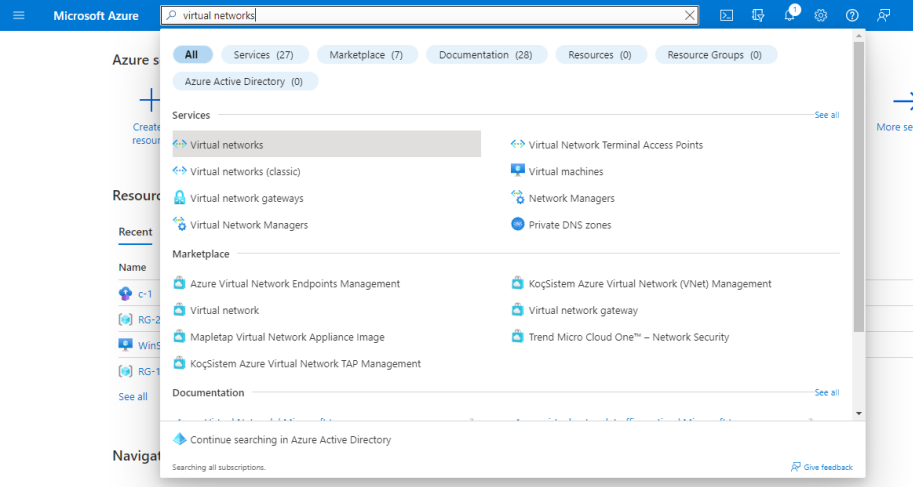
In the Azure Portal click on the Search Bar and type Virtual Networks.
Select the Virtual Network option.
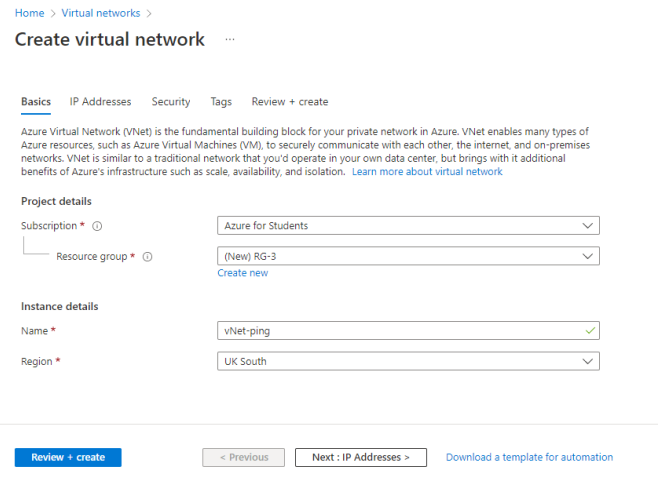
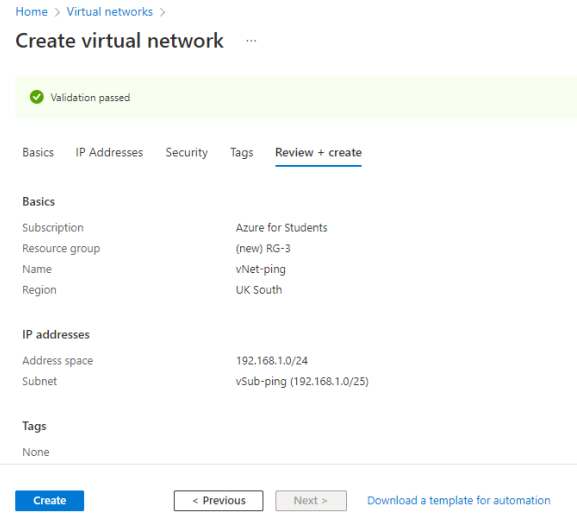
Click on Create and fill accordingly. I’ve made a new Resource group for this task RG-3
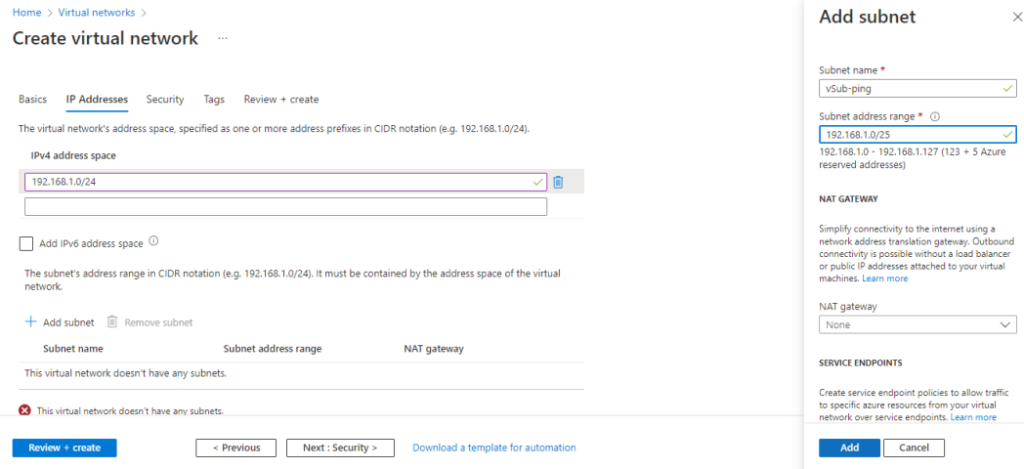
Enter the Network in IP address space.
Click Add subnet and make a new subnetting for the IP address network you created.
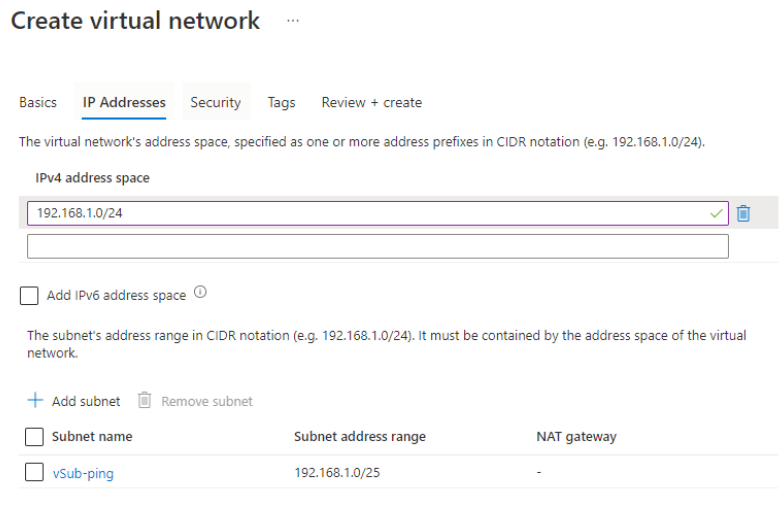
And then review + create
NOTE: To create Two Virtual Machine, you can check on TASK 1: Create Virtual Machine.
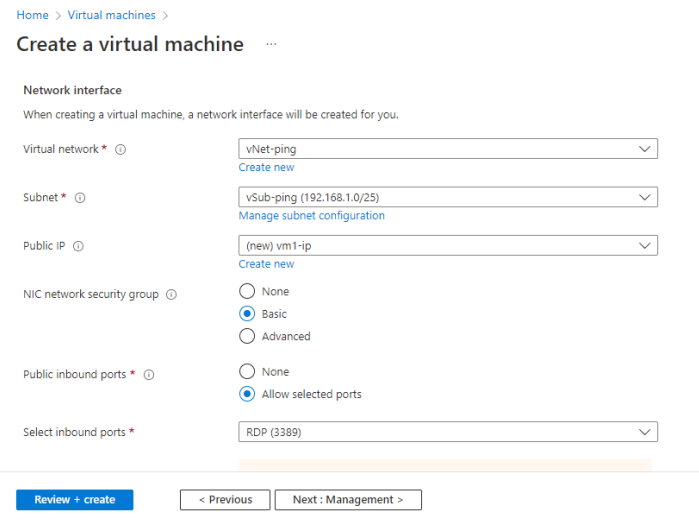
This how you will add an existing Virtual Network to the Virtual Machine you are creating. (In TASK 1: we have kept it in default).
Testing
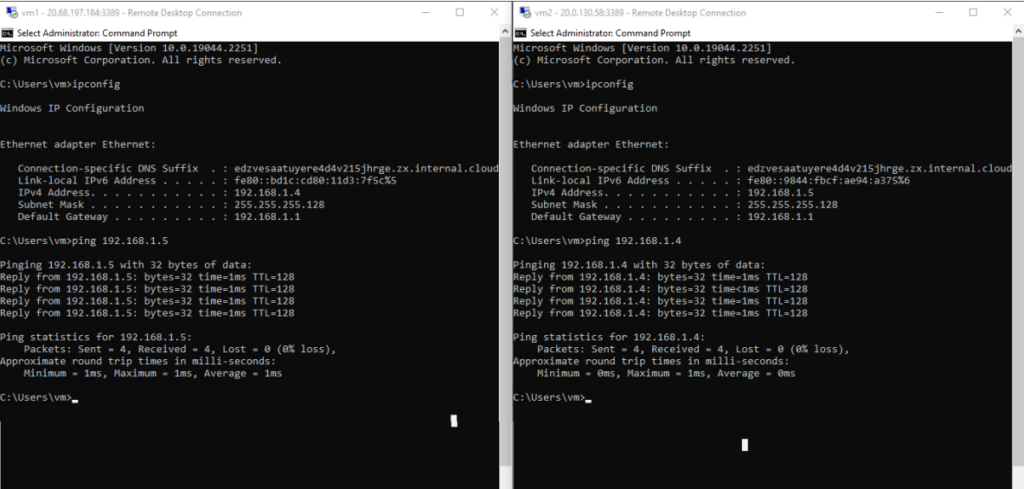
Now let’s open both the virtual machine and check the IP ADDRESS.
Then let’s do our PING Test.
The Test was successfully done.
Task 2: Create a VM with these conditions.
- A VM with Template. You are to deploy a virtual machine with a QuickStart template and examine monitoring capabilities.
- A VM with PowerShell. You are to configure the Cloud Shell, use Azure PowerShell module to create a resource group and virtual machine, and review Azure Advisor recommendations.
- A VM with the CLI. You are to configure the Cloud Shell, use Azure CLI to create a resource group and virtual machine, and review Azure Advisor recommendations.
- Comments on the differences and similarities of creating VMs on cloud with Template, PowerShell or with the CLI.
A VM with Template
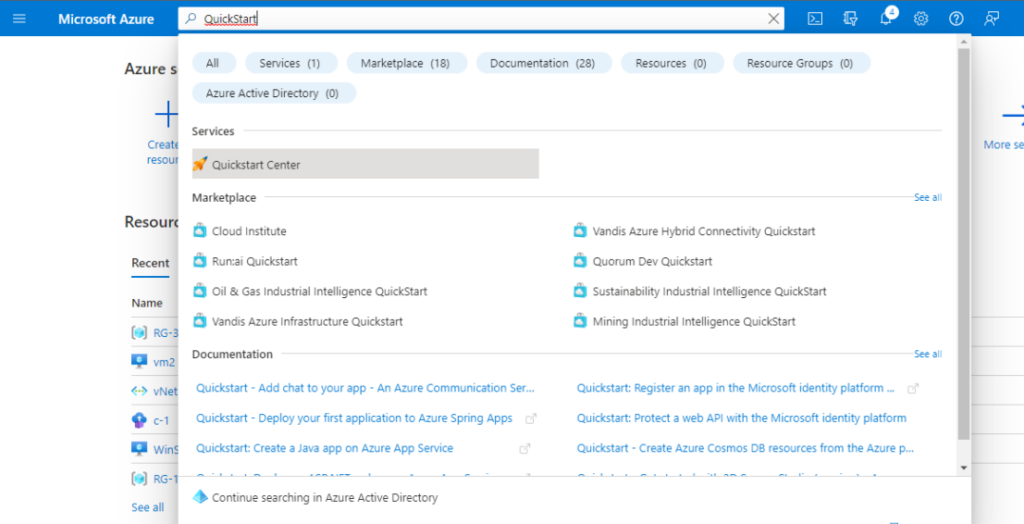
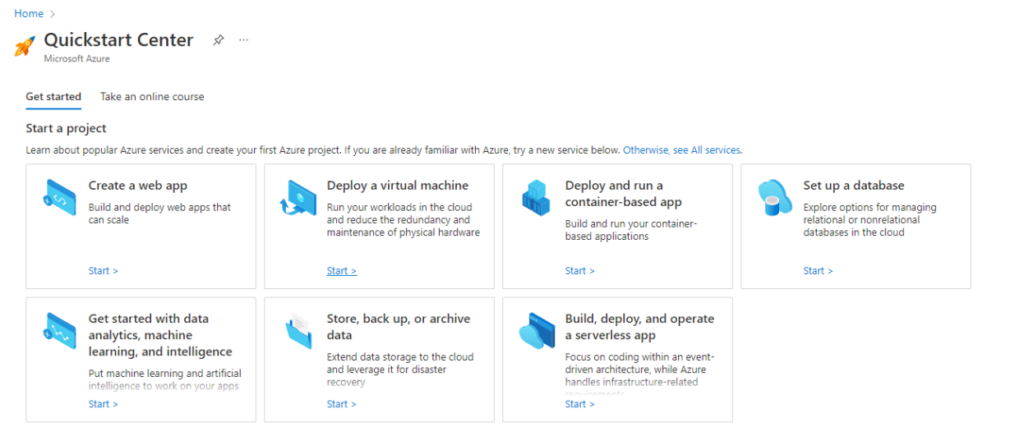
In the Azure Portal click on the Search Bar and type QuickStart.
Select the QuickStart Center
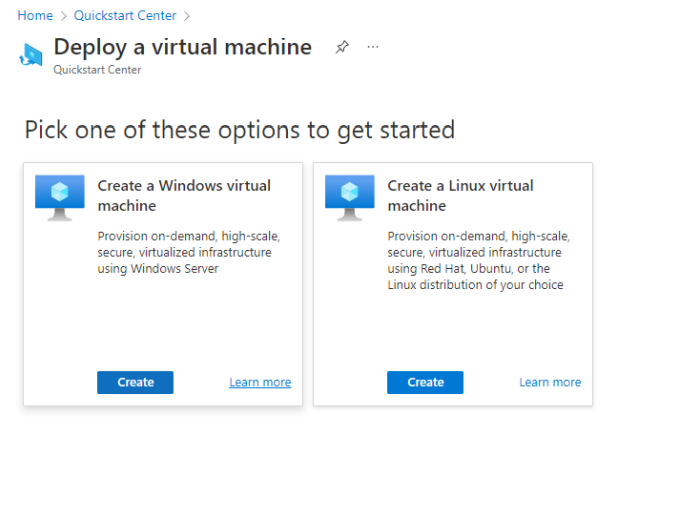
Select The Virtual Machine Option
Select Windows
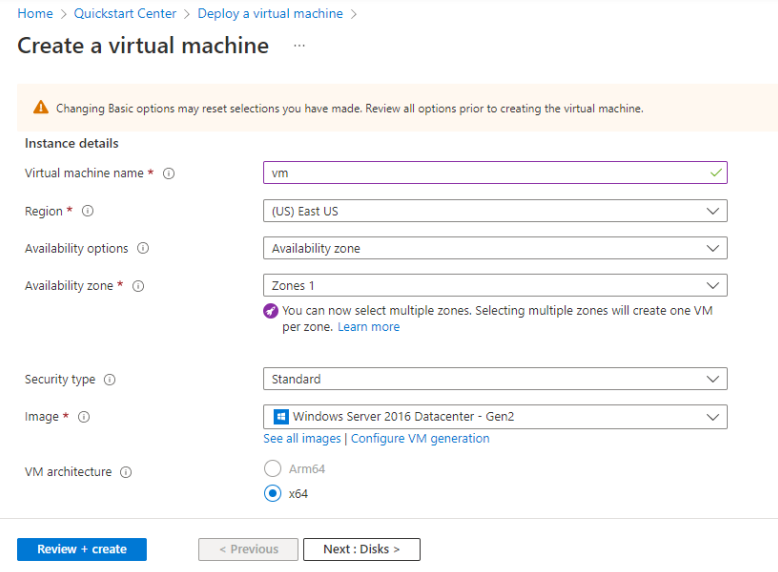
Fill the details Accordingly
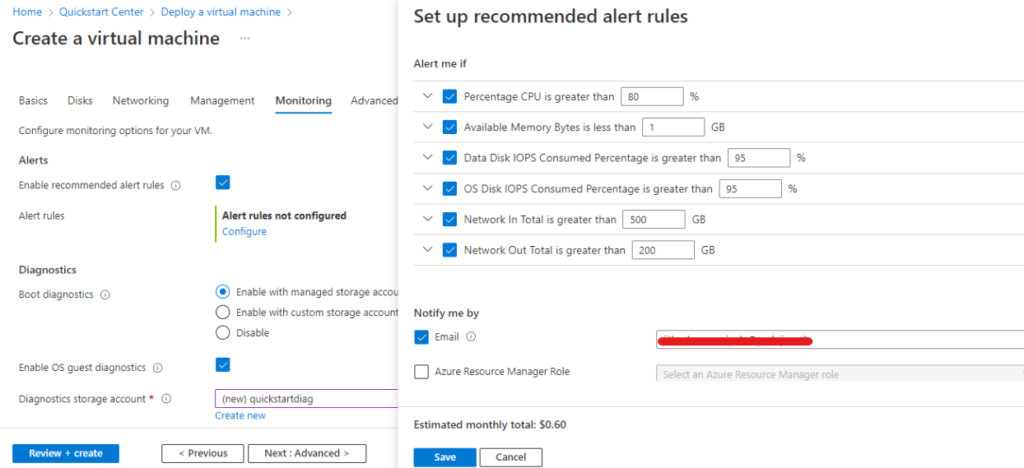
These are the capabilities
A VM with PowerShell
In the Azure portal Select the Cloud Shell
Create Storage and select PowerShell.

The Commands to configure the needs in this task.
Resource Group
New-AzResourceGroup -Name ‘myResourceGroup’ -Location ‘EastUS’
Virtual Machine
New-AzVm `
-ResourceGroupName ‘myResourceGroup’ `
-Name ‘myVM’ `
-Location ‘East US’ `
-Image Debian `
-size Standard_B2s `
-PublicIpAddressName myPubIP `
-OpenPorts 80 `
-GenerateSshKey `
-SshKeyName mySSHKey
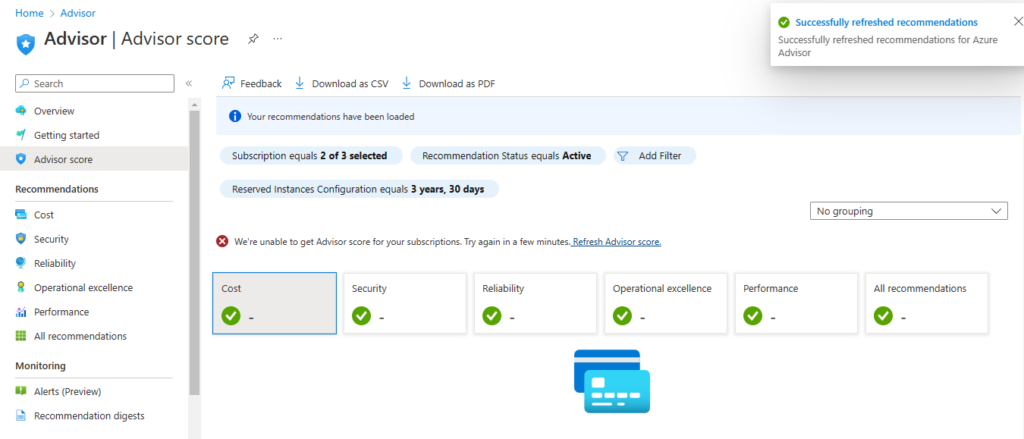
Azure Advisor recommendations
A VM with CLI
We have to use the same cloud shell as you we used previous on powershell.
The Commands to configure the needs in this task.
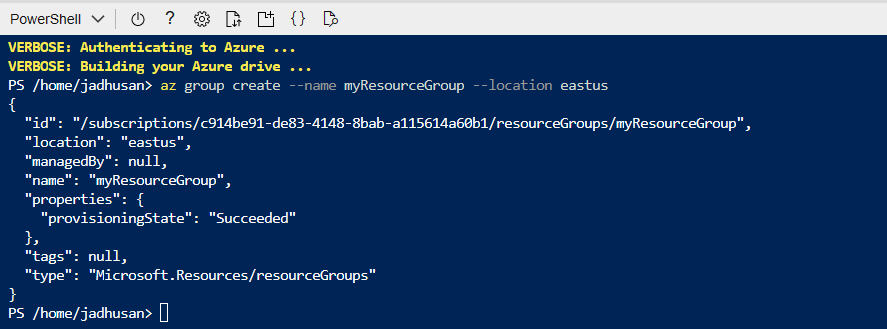
Resource Group
az group create –name myResourceGroup –location eastus
Virtual Machine
az vm create \
–resource-group myResourceGroup \
–name myVM \
–image Debian \
–admin-username azureuser \
–generate-ssh-keys
Differences with CLI and PowerShell
The Azure CLI comes with an installer that enables you to use any of the four shell environments to execute its commands. Instead of being an independent program, Azure PowerShell is a collection of cmdlets bundled as a PowerShell module named Az.
Task 3: Secure network traffic
Network security groups (NSGs) are like virtual security guards that control the network traffic in a subnet or for specific network interface cards (NICs). They use a list of rules called Access Control Lists (ACLs) to allow or deny network traffic.
NSGs can be associated with subnets or individual NICs. When associated with a subnet, the ACL rules apply to all the virtual machines (VMs) within that subnet. If associated with a NIC, the NSG rules only affect that specific NIC.
Each NSG has two sets of rules: inbound and outbound. The priority of each rule must be unique within its respective set.
Every NSG has default rules that can’t be deleted or changed. These default rules have the lowest priority and can’t be overridden by any rules you create.
When you associate an NSG with a NIC, the NSG rules are only applied to that particular NIC. If a VM has multiple NICs, applying an NSG to one NIC won’t affect the traffic to the other NICs. You can associate different NSGs with a NIC or VM, and the priority of rules is determined based on the direction of the traffic.
You are to create a Windows Server 2019 Datacenter virtual machine on Azure and create a network security group and associate it with the network interface of your machines.
We have already created a windows server in our TASK 1: therefore, lets skip VM creation.
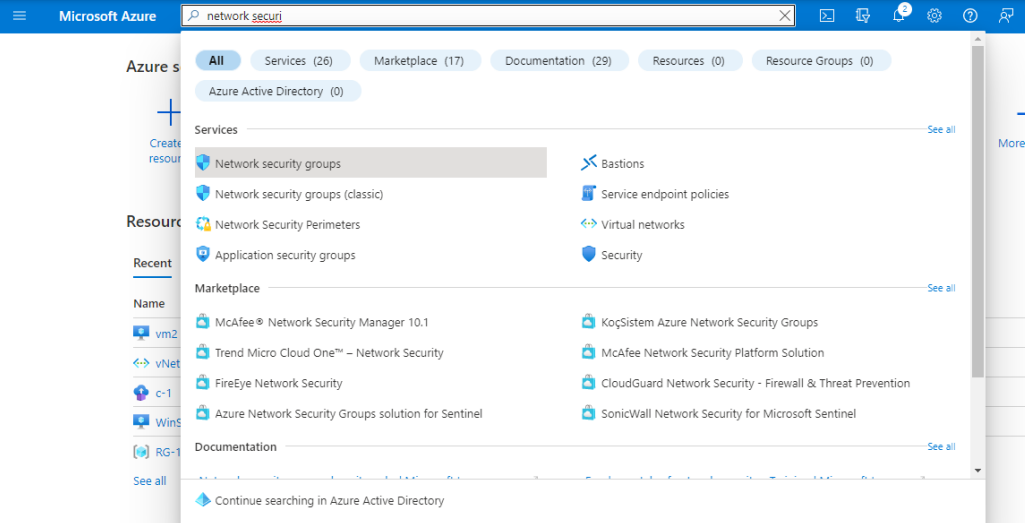
In the azure portal search for Network Security and select the Network Security Group
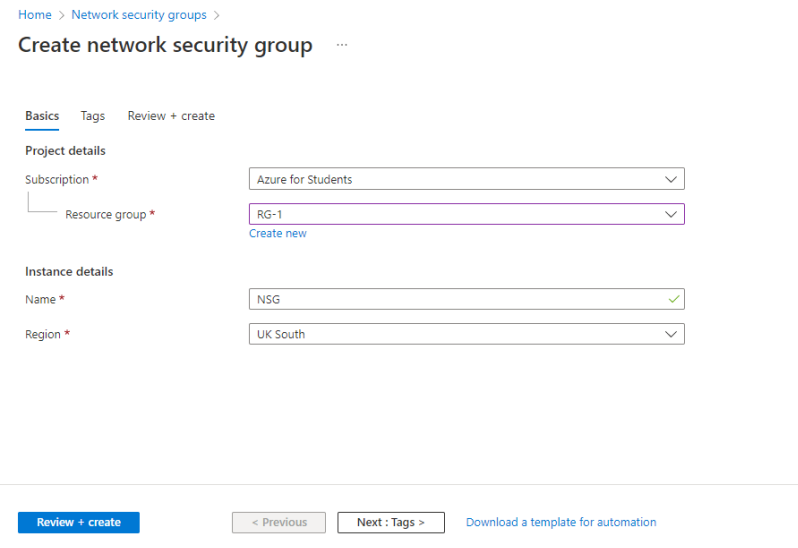
Select Create and choose the RG-1 since we deployed a Windows Server on that Resource Group.
Give a name to the instance
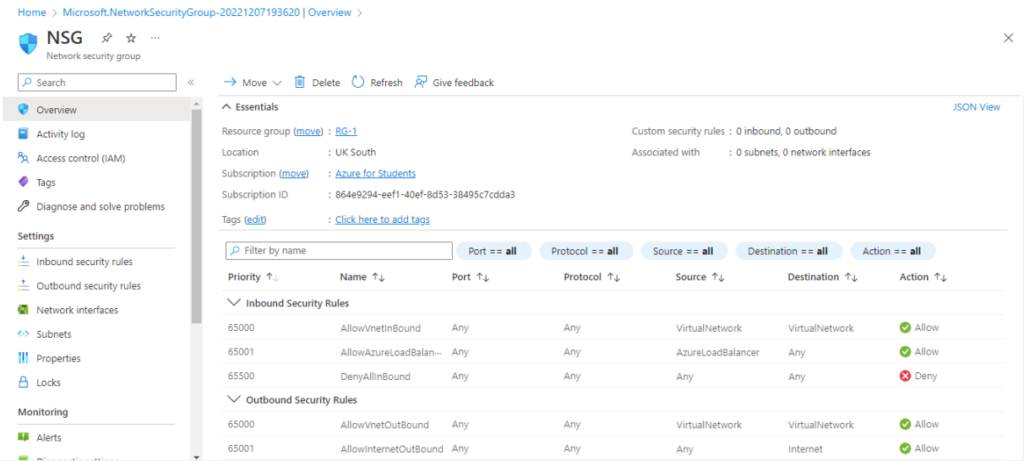
The Network Security Groups Portal
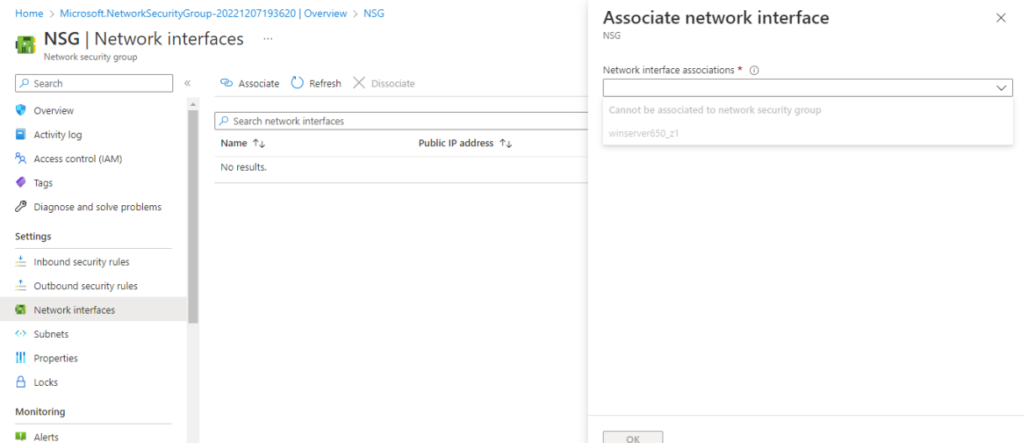
Associating it with the VM network interface
Summary
In this blog post, we will guide you through the steps of building and securing a network infrastructure in Microsoft Azure. The main goal is to create a virtual network and set up virtual machines within it. We will explain various methods for creating virtual machines, such as using templates, PowerShell commands, and the Azure CLI, highlighting their similarities and differences in a straightforward manner. Additionally, we will emphasize the significance of securing network traffic by implementing network security groups. By the end of this blog post, you will have a clear understanding of how to establish a network and protect it in Microsoft Azure.