Introduction
Configuring Key Vault for Enterprise is crucial for ensuring the security and integrity of data within Microsoft Azure. Azure provides a comprehensive set of tools and features that assist enterprises in safeguarding their sensitive information and adhering to regulatory standards. Key Vault, also referred to as Key Fault, is a secure cloud service offered by Azure. It empowers organizations to effectively manage and protect cryptographic keys, secrets, and certificates utilized in applications and services.
Key Vault for Enterprise presents a centralized and scalable solution for key management, relieving organizations from the burden of manual encryption key administration. By utilizing Azure Key Vault, enterprises can securely store keys and secrets, exercise control over access permissions, and conduct audits of key usage. These capabilities are accompanied by Azure’s robust security measures and global availability, further enhancing the overall security posture for organizations.
Azure Key Vault
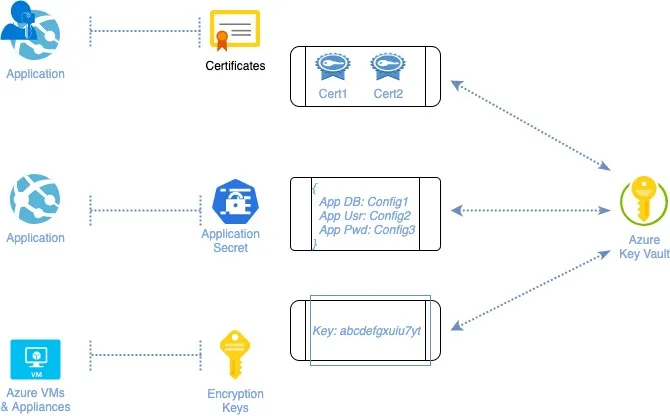
Key Vault is a Azure Cloud Service Resource, which provides secure store for Keys, Secrets and Certificates.
- Secrets – Azure Key Vault provides a secure and controlled environment for managing secrets, including tokens, passwords, certificates, API keys, and other sensitive information. With Key Vault, you can securely store these secrets and tightly control access to them, ensuring that only authorized entities can retrieve or modify them.
- Key – Azure Key Vault serves as a comprehensive key management solution. It simplifies the process of creating and managing encryption keys used to protect your data. By leveraging Key Vault, you can easily generate, control, and rotate encryption keys, ensuring the security and integrity of your data at rest and in transit.
- Certificate – Azure Key Vault offers a convenient way to manage certificates, specifically Transport Layer Security/Secure Sockets Layer (TLS/SSL) certificates. It enables you to provision, manage, and deploy both public and private certificates for use with Azure services and your internal connected resources. This capability streamlines the management of certificates, ensuring the secure and reliable communication between your applications and resources.
How to configure Key Vault
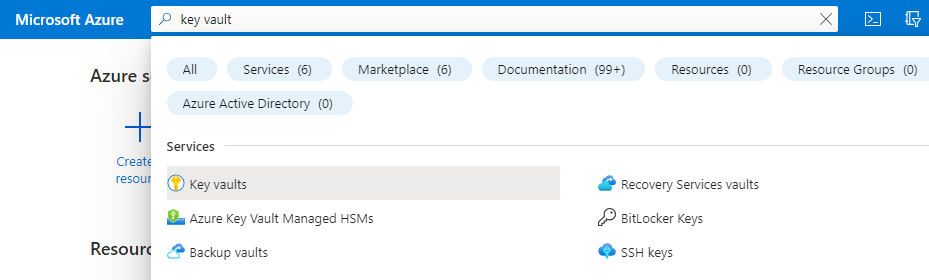
Sign in to the Azure Portal and Search for Key Vault and Click on Key Vaults.
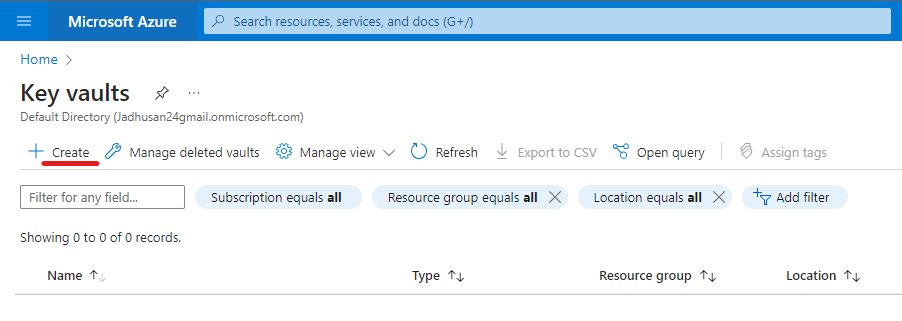
In the Dashboard, Click on Create.
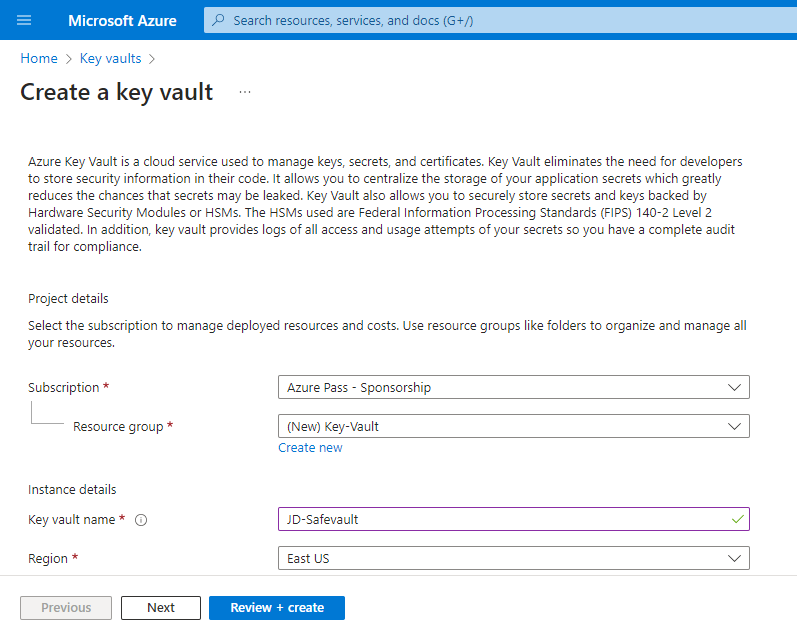
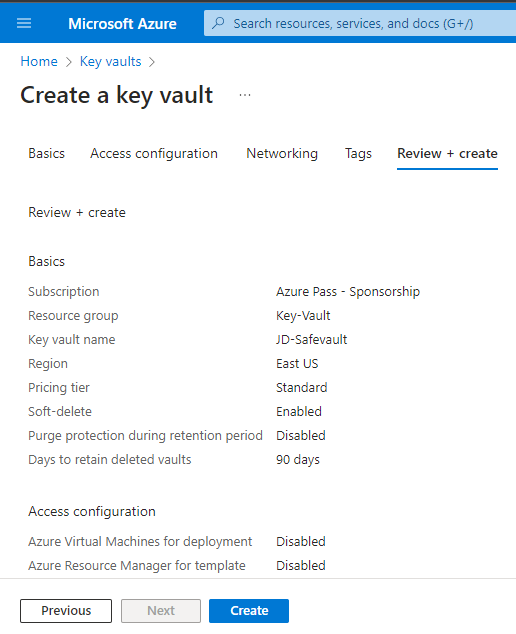
Configure the Following in the Field and leave Rest as Default for this blog:
- Resource Group for your Key Vault.
- Name your Key Vault Instance.
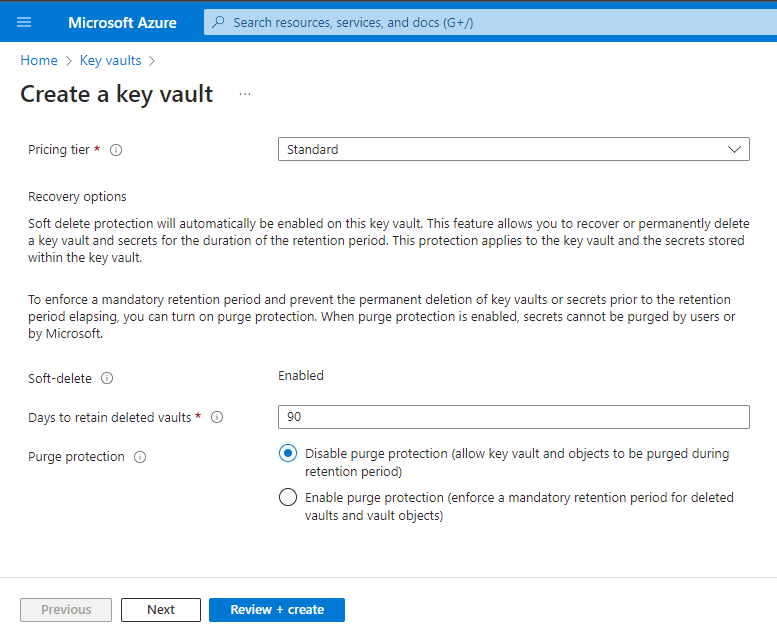
Pricing can be Standard or Premium
Soft Delete Protection – It gives you protection against deliberate or accidental delete the key vault. By default its Enabled.
Retention Period – If the Key Vault gets deleted it should be retain before the particular days expires.
Purge Protection – Where you can prevent the permanent deletion.
After configuring, Click Next to Access Policies
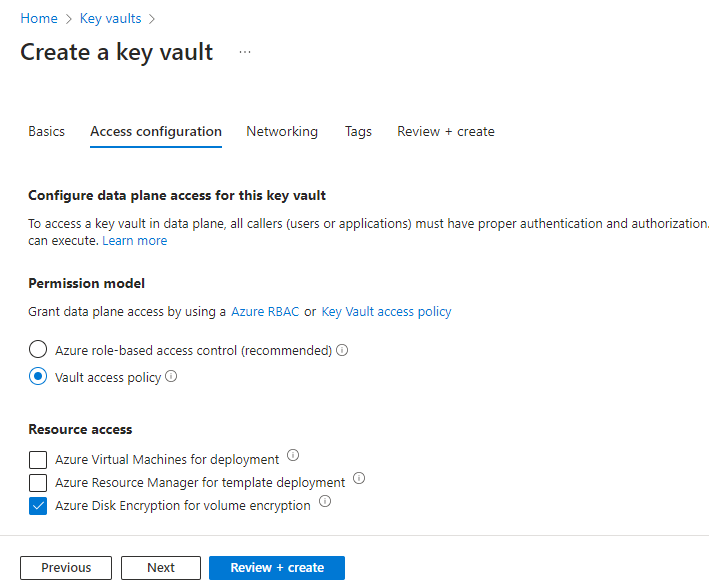
Permission Model, Grant data plane access by using:
- Azure role-based access control
- Key Vault access policy
If you want your VMs to have access to your secrets store in your azure key vault or resource manager for template you can select it through this dashboard.
After configuring, Click Next to Networking
Scroll Down,
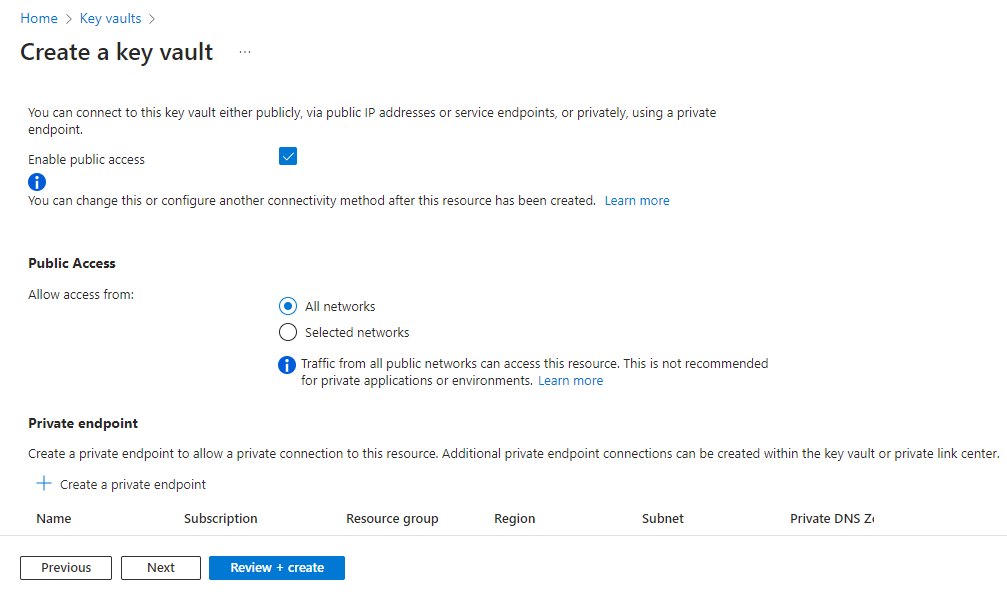
In the Networking, for this blog we will be using Public Access. But you can go with private Endpoints so that the communication between your application will be secure.
I’m Skipping the Tag.
Click Review + Create.
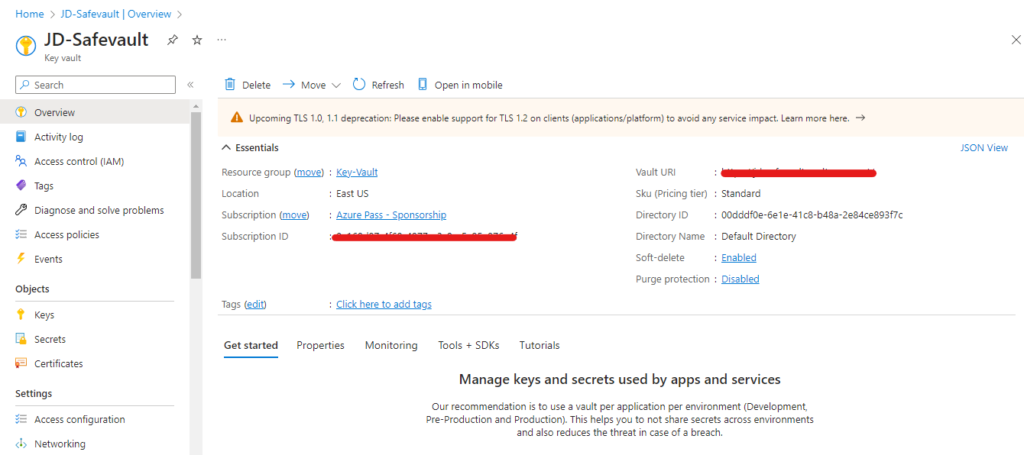
After Your deployment is completed. Go to Resource.
Key Vault is Created
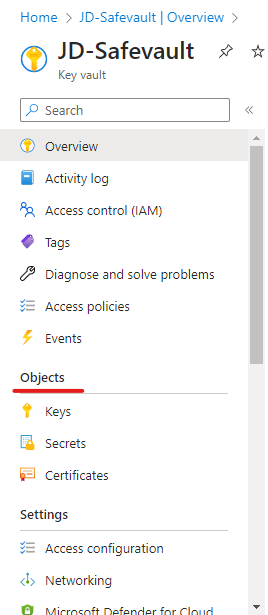
In the Object, we can see the Keys, Secrets and Certificate options
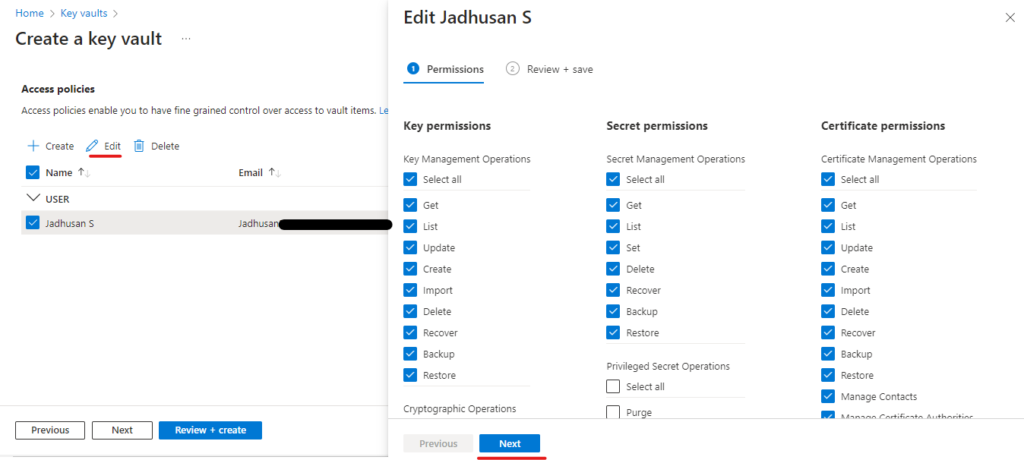
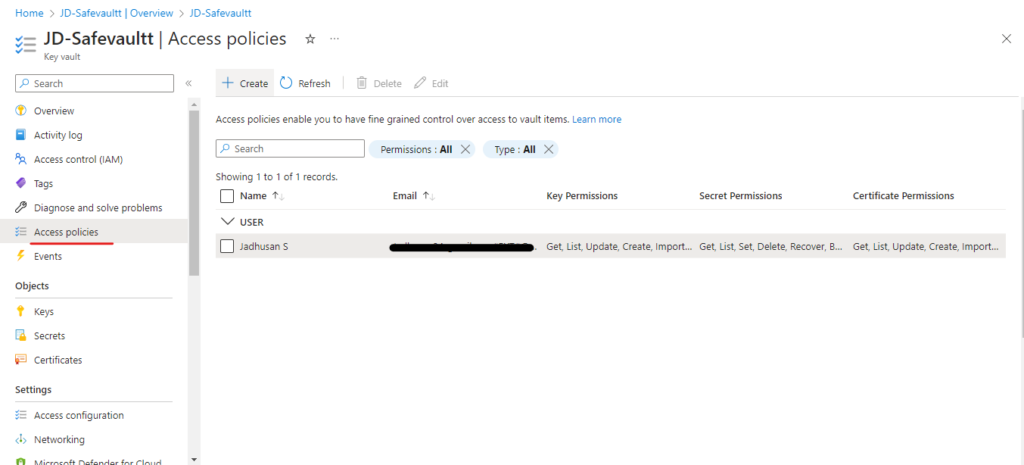
Access Policies
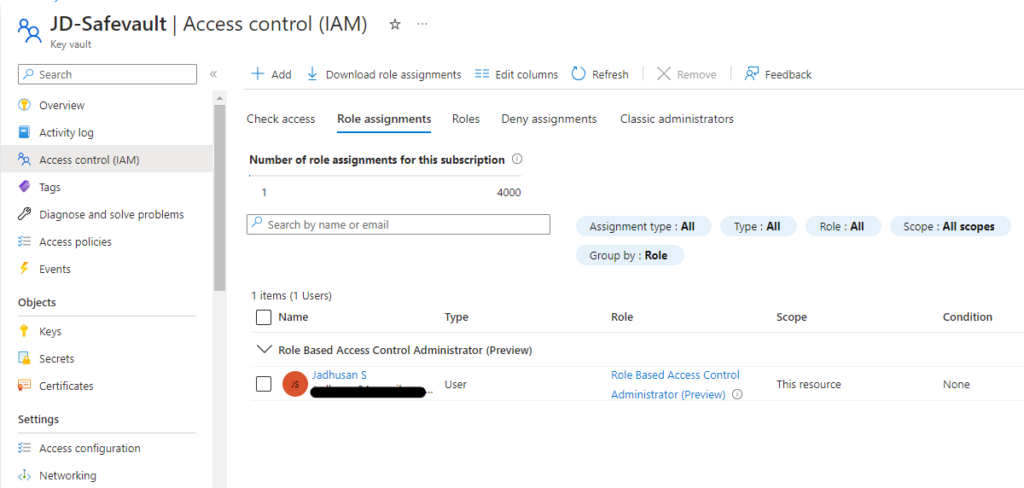
The access configuration for this key vault is set to role-based access control. To add or manage your access policies, go to the Access control (IAM) page.
Access control (IAM)
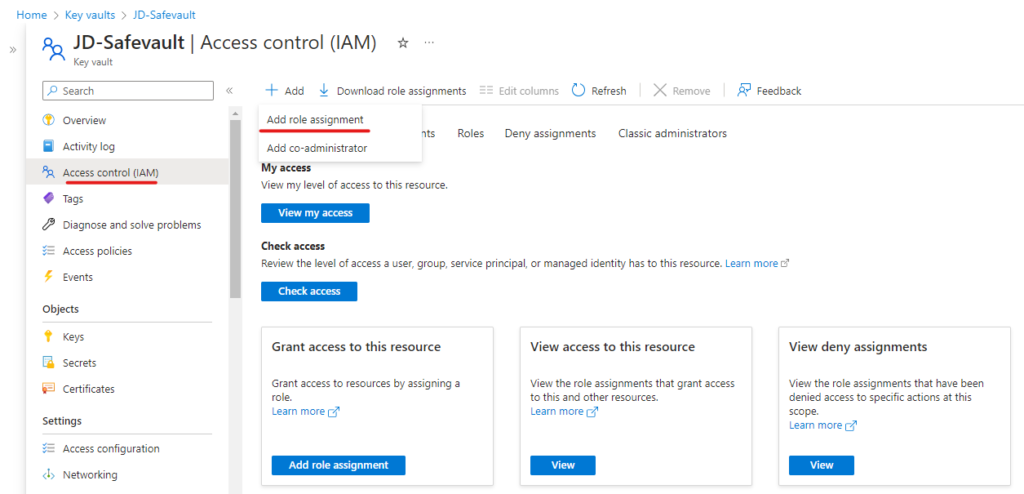
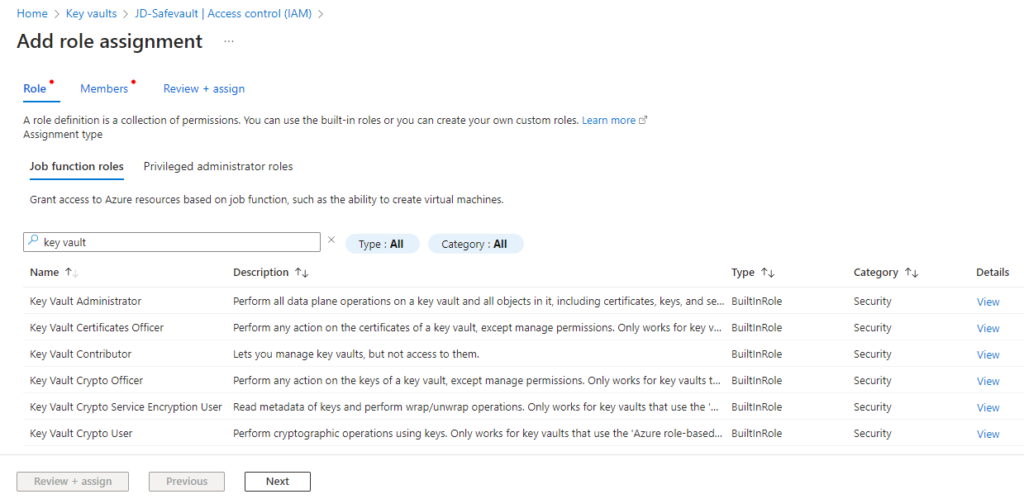
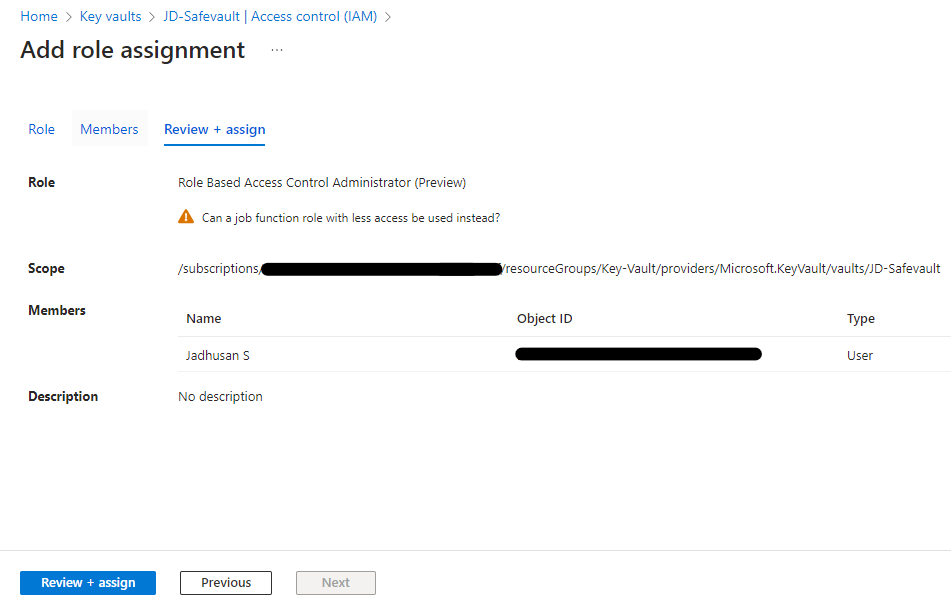
On the Role tab, select a role that you want to use. You can search Key Vault and Identify the Roles.
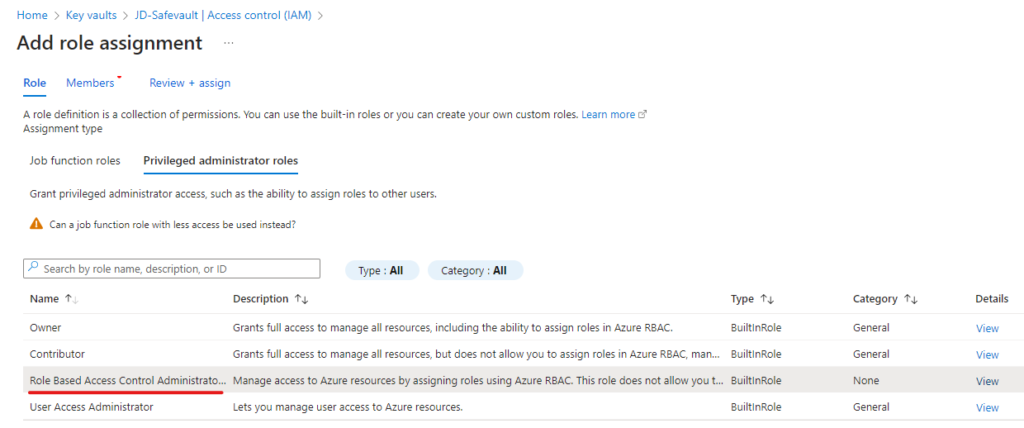
If you want to assign a privileged administrator role, select the Privileged administrator roles tab to select the role.
On the Members tab, click on Select Members and You can type in the Select box to search the directory for display name or email address.
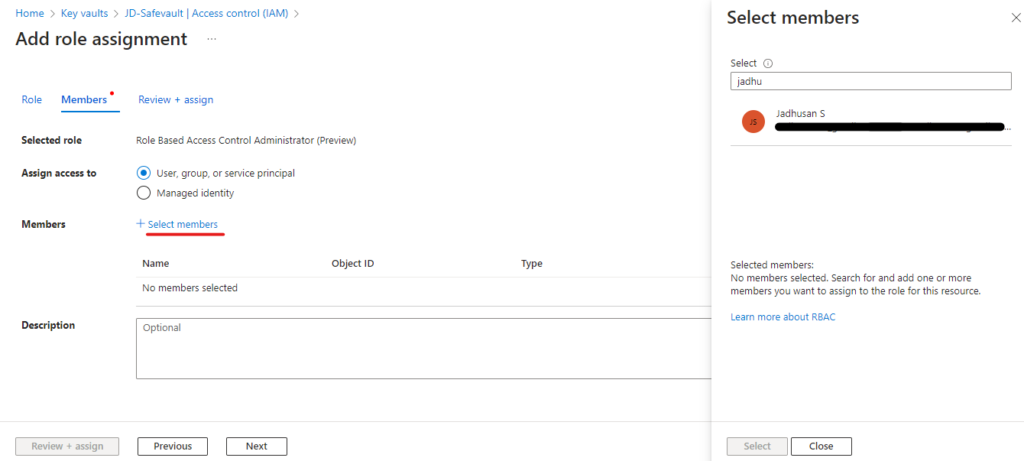
Click Review + assign to assign the role.
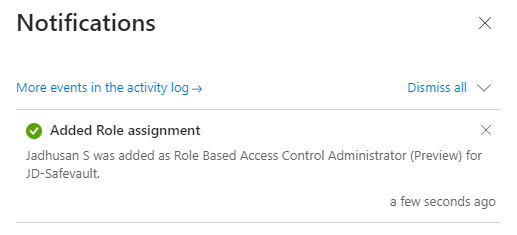
Successfully Added.
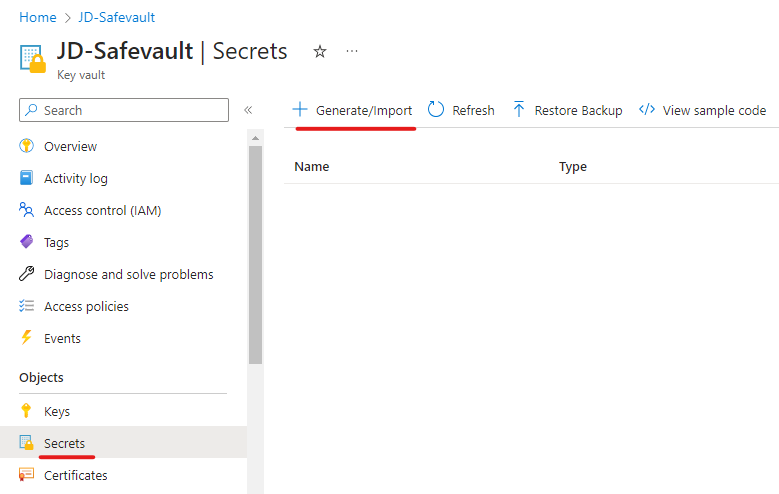
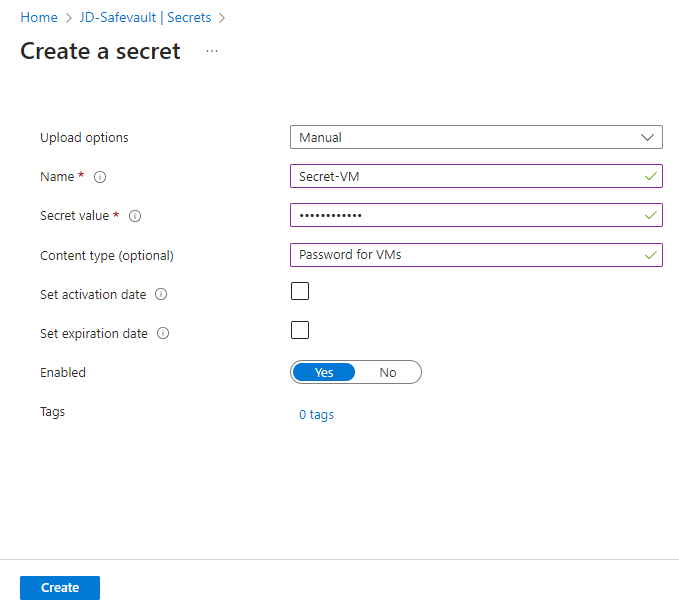
Creating Secret
In the Dashboard select Secrets and click on Generate/Import
Configure as followings:
- Given an Name
- Type your Secret
- Content type, Eg: Password
- You can set Activation Date – When this secret going to be Enable
- You can set Expiration Date – When this secret going to be Expire
Click On Create
Conclusion
Configuring Key Vault for Enterprise in Microsoft Azure is crucial for keeping data secure. Azure provides powerful tools to manage cryptographic keys, secrets, and certificates. With Key Vault, organizations can store secrets securely, control access, and manage keys easily. It simplifies the process of creating and managing encryption keys, ensuring data security at rest and in transit. Additionally, Key Vault streamlines certificate management, enabling secure communication between applications and resources.
Setting up Key Vault is straightforward in the Azure Portal. Administrators can define resource groups, create key vault instances, and configure access policies. Azure’s role-based access control and key vault access policy provide precise control over access to data. Administrators can also assign privileged roles and manage access policies.