Description
Dive into the world of Azure virtual machines and containers with this comprehensive guide. In the first blog, you’ll learn how to create and configure virtual machines in the Azure portal. Follow step-by-step instructions to set up a virtual machine, install a web server role, and test its functionality. Additionally, explore the power of Azure Container Instances (ACI) as you create, configure, and deploy containers for your applications. Gain a deeper understanding of the key differences between virtual machines and containers and discover how these technologies can enhance your cloud infrastructure.
Table of Content
- Task 1: Create a virtual machine in the portal.
- Task 2: Deploy Azure Container Instances
- Task 3: Describe the difference between Virtual Machines and Containers
Task 1: Create a virtual machine in the portal.
You are to create a virtual machine in the Azure portal, connect to the virtual machine, install the web server role and test
Virtual Machine
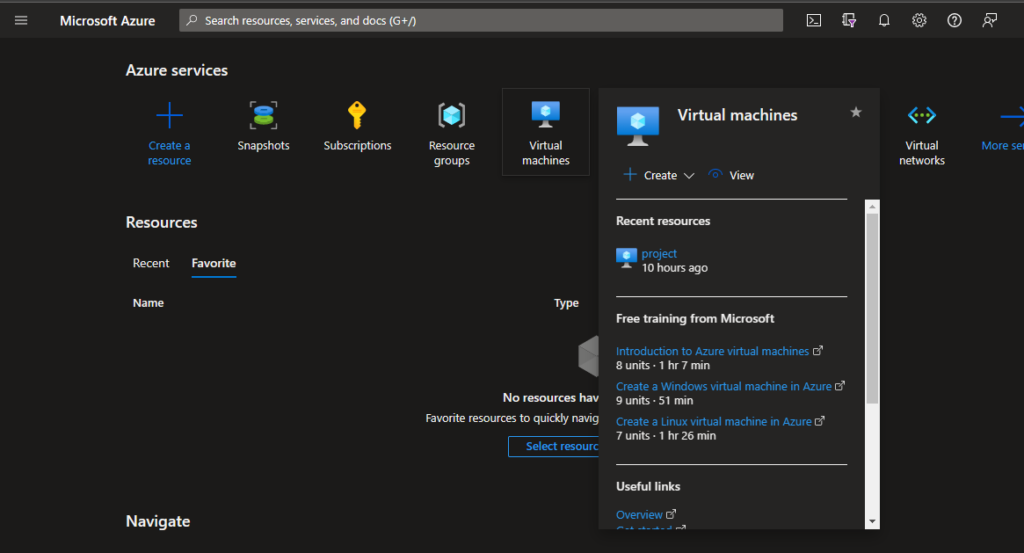
Select the Virtual Machine in the portal
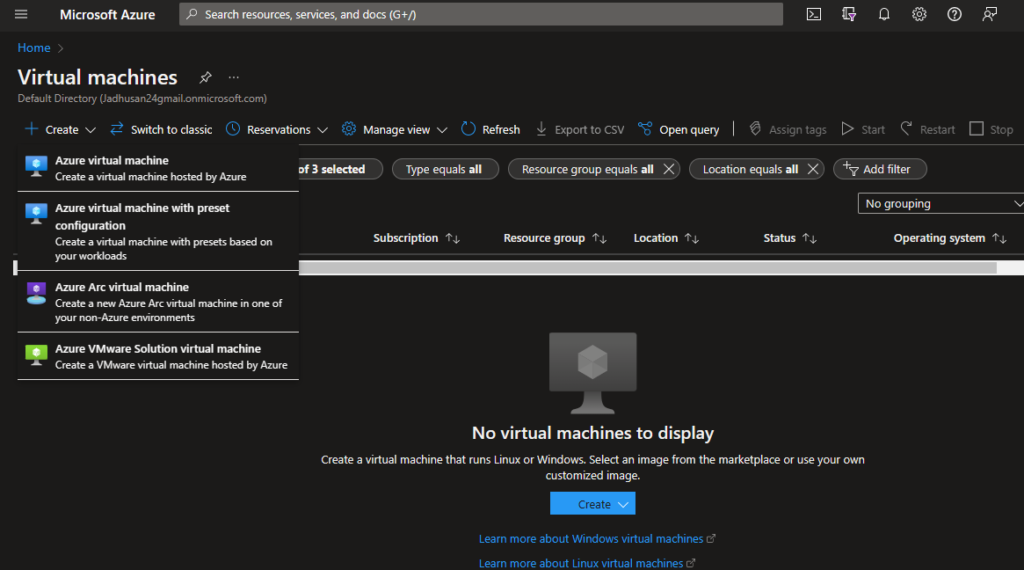
Select the Create option and click the Create Azure Virtual Machine
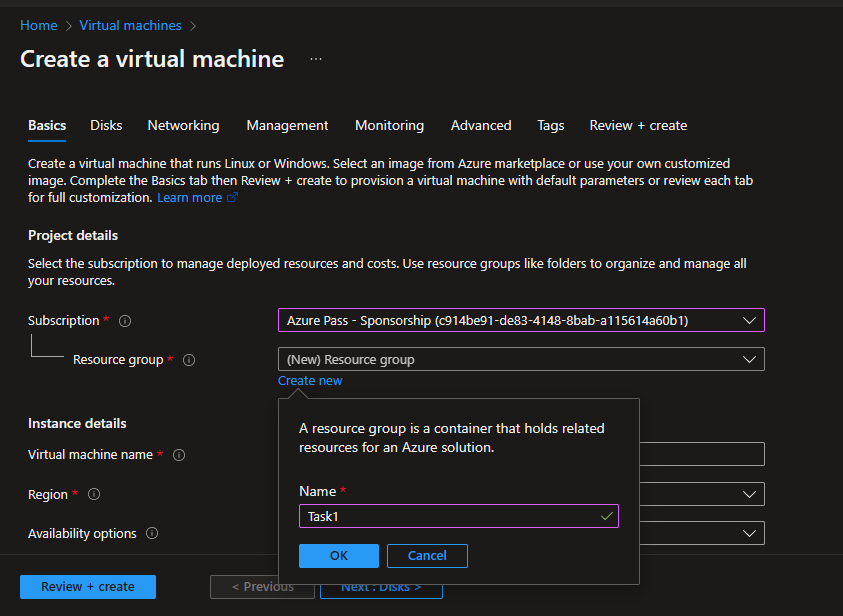
Make sure to fill the given details accordingly
If you have existing Resource group you can mention it or create like me
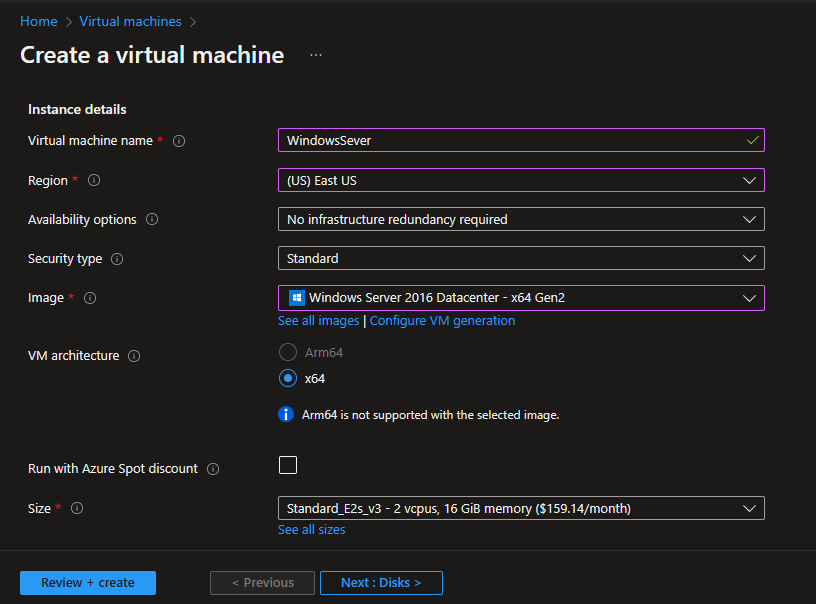
Create the instance details and select the Virtual Machine’s sizing
Select the RDP connection to access the DESKTOP ENV and create the administrator account.
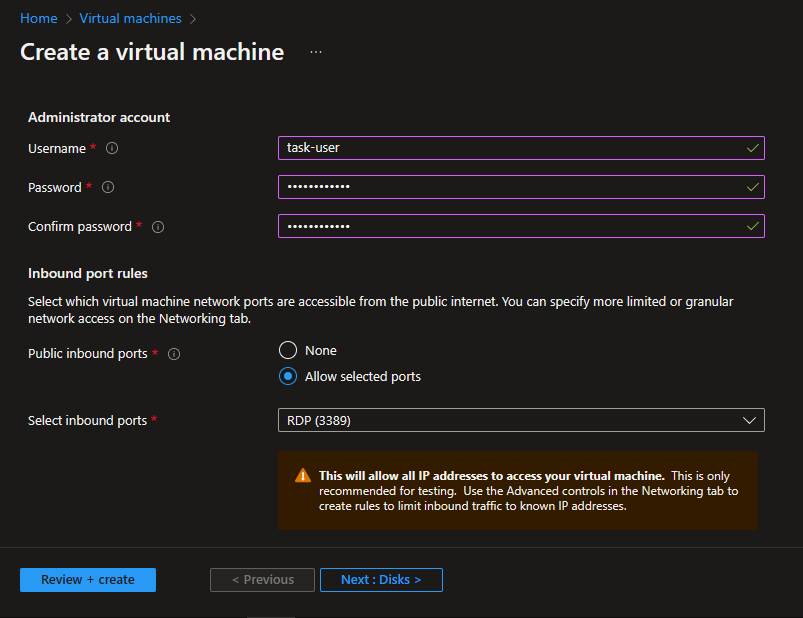
Accept the windows license
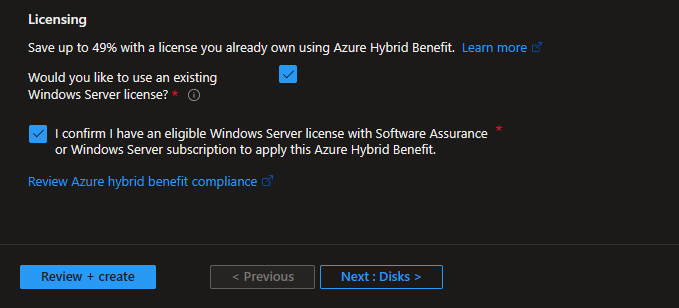
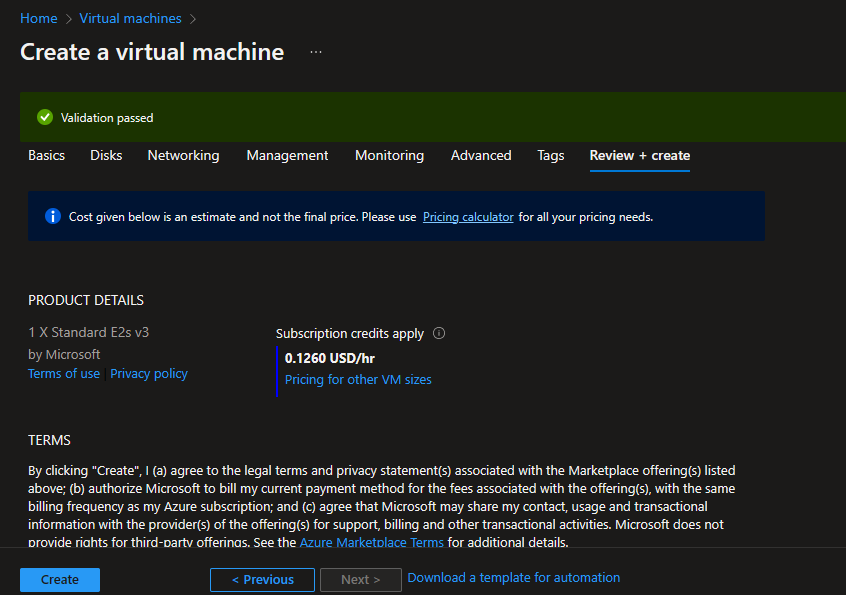
Keep other setting by default and Click Review + Create
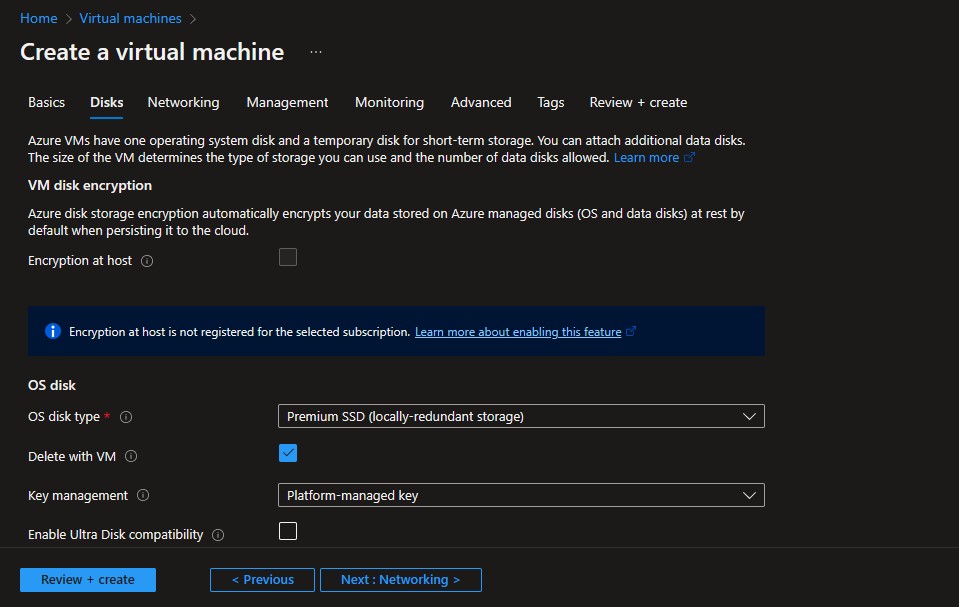
Disks
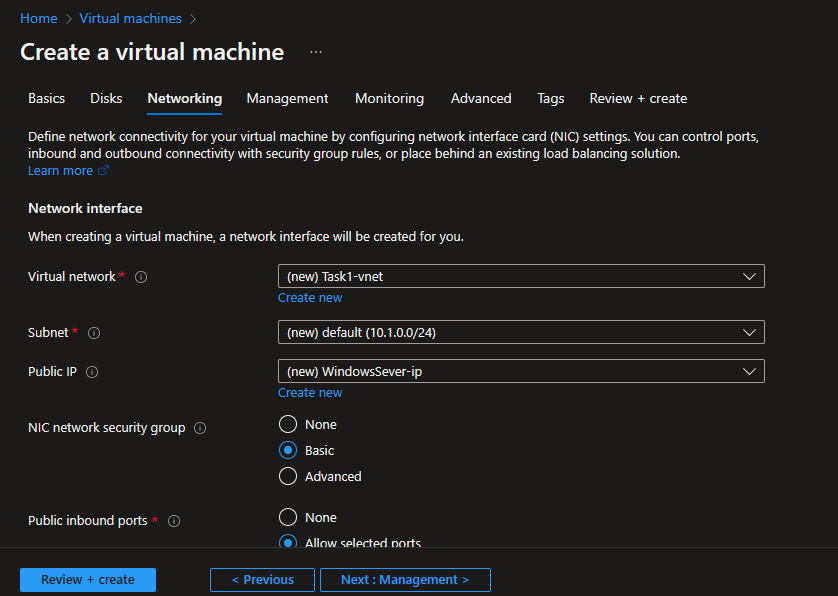
Networking (In this field you can add Virtual Network if you have already Created)
Create
Web Serer Role
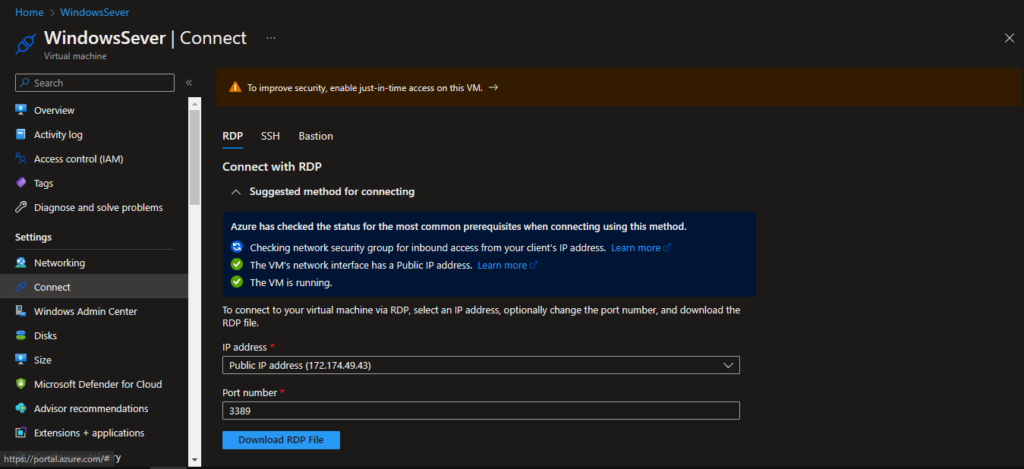
After deployment done click the Connect and select RDP
Download the RDP file and open it. Use your credential and login to the VM.
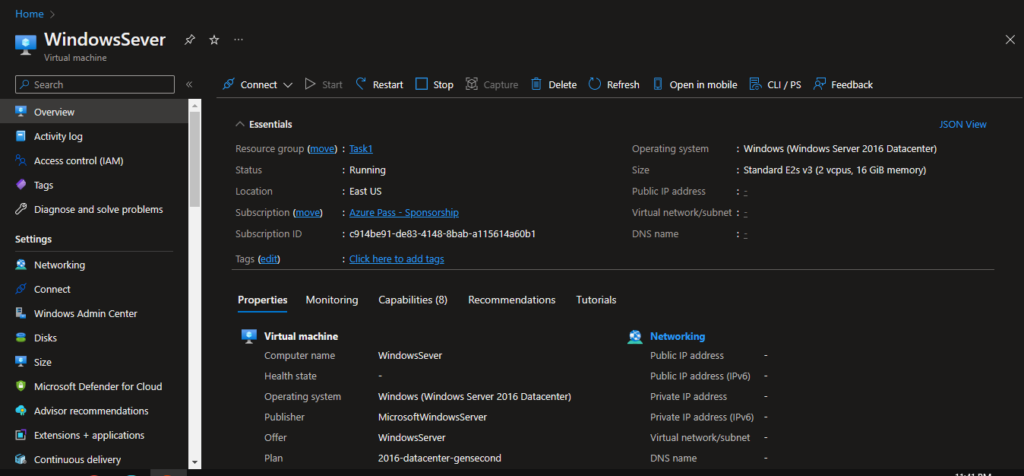
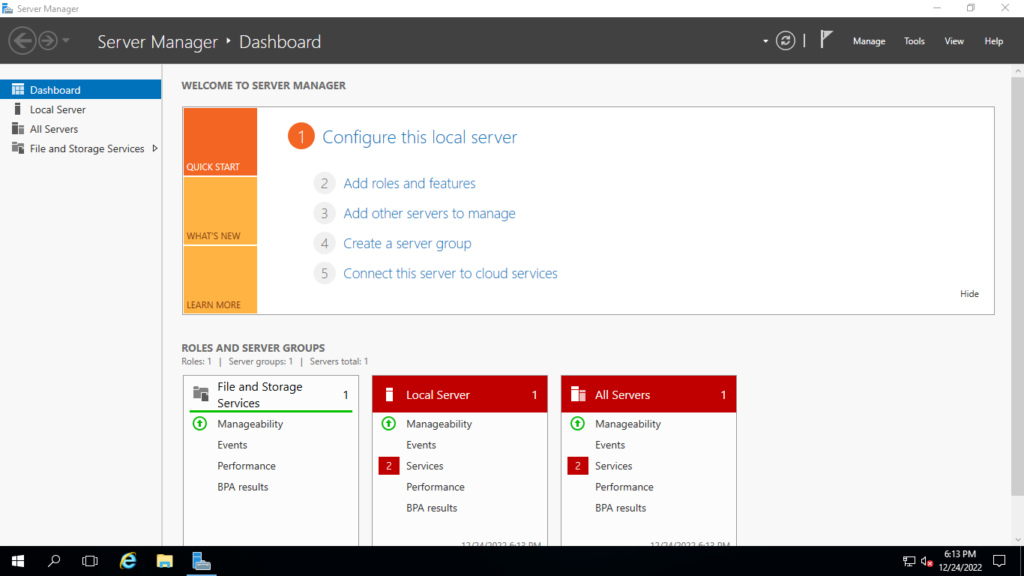
Successfully logged into our windows server
Installed Webserver Role
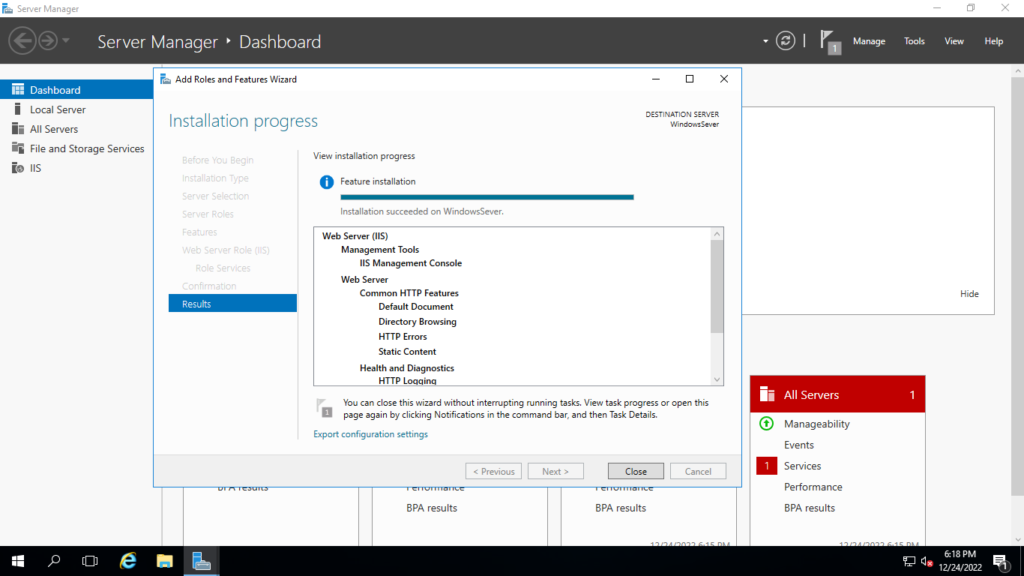
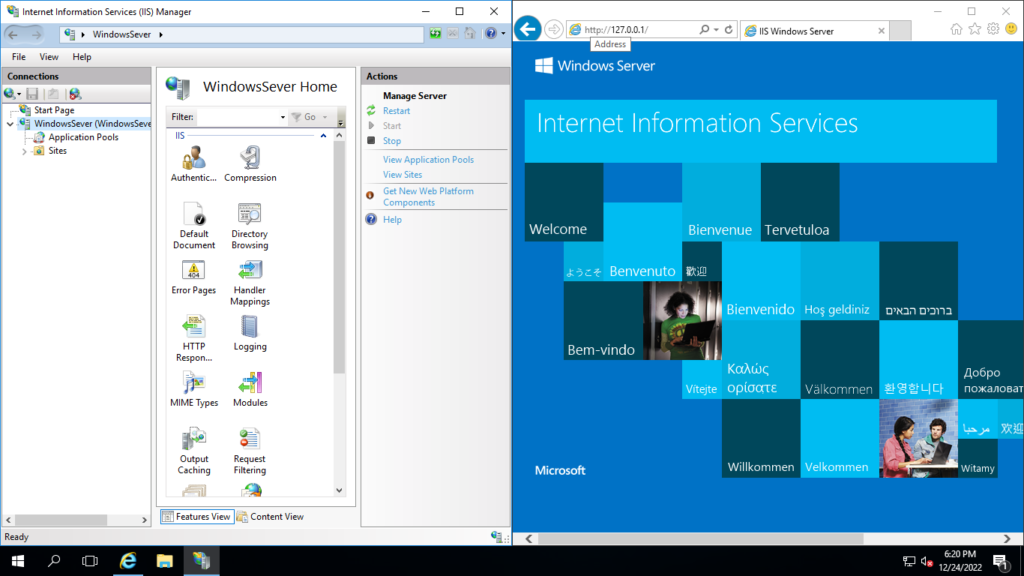
Tested the Webserver
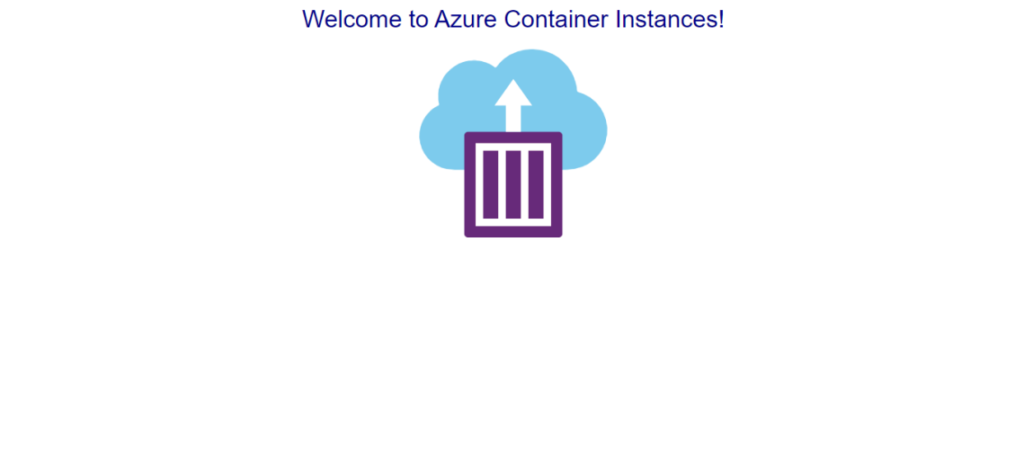
Task 2: Deploy Azure Container Instances
You are to create, configure, and deploy a container by using Azure Container Instances (ACI) in the Azure Portal. The container is a Welcome to ACI web application that displays a static HTML page.
Container
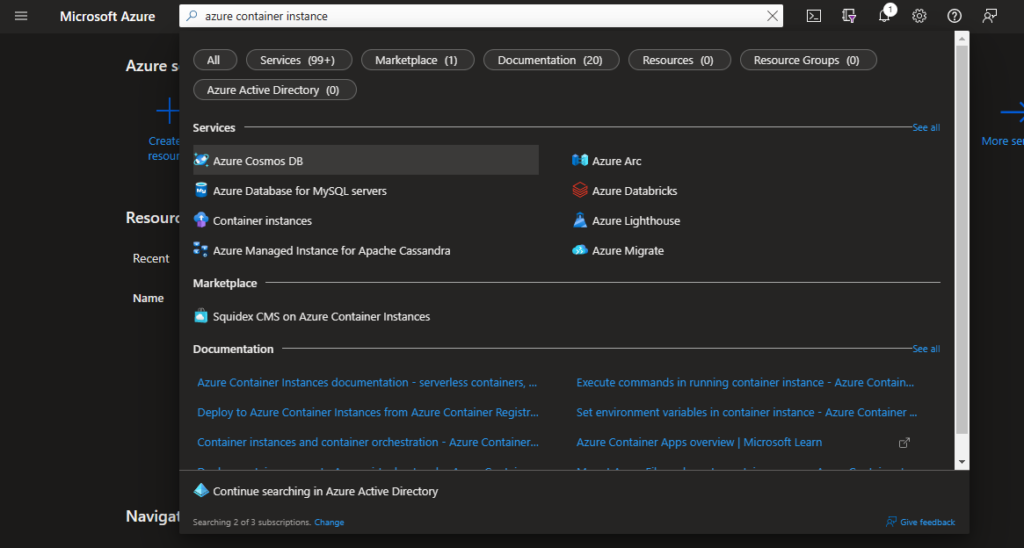
In the Azure Portal click on the Search Bar and type Azure Container Instance.
Select the Container Instance Application
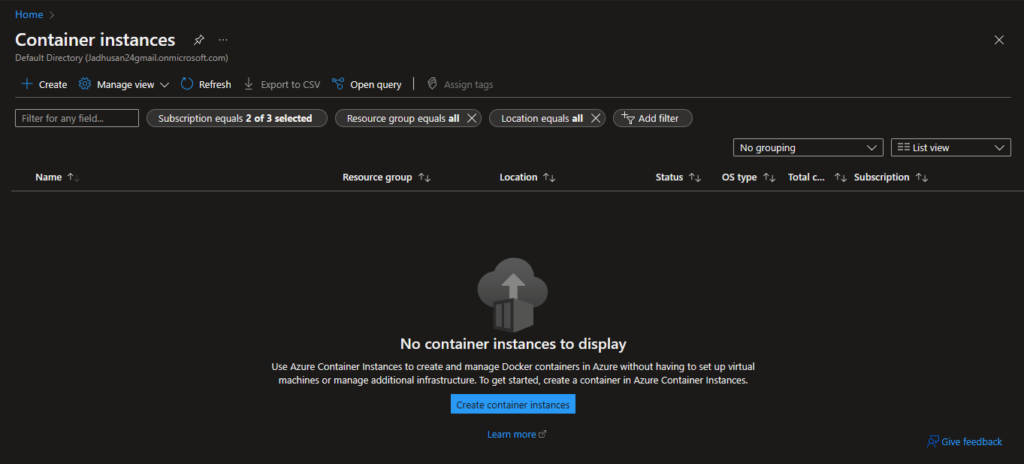
Click on the create
Let’s create a new Resource group for our task 2
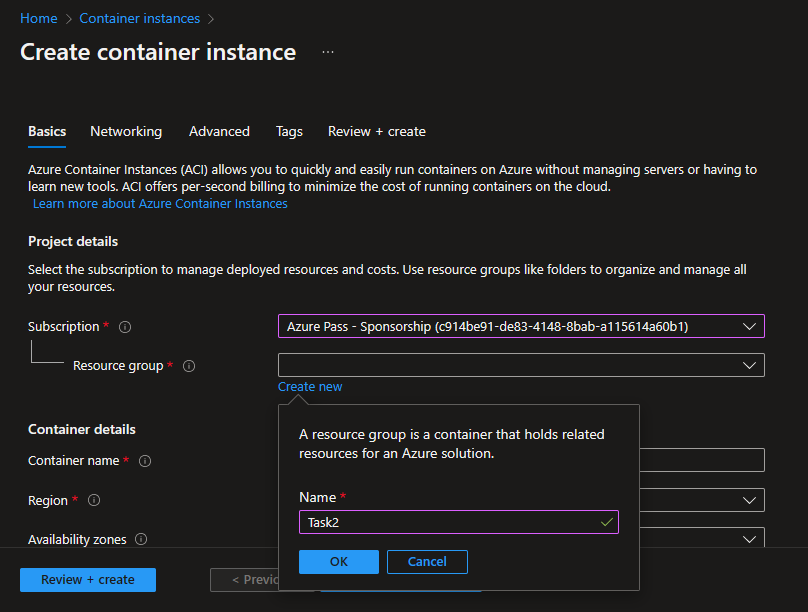
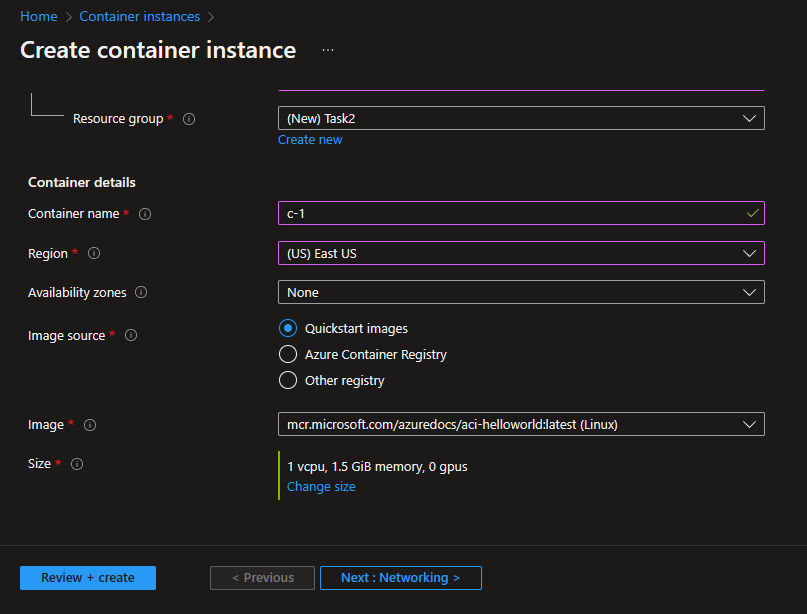
Fill the details accordingly
– Quickstart images
– helloworld(linux) Image
Create the Networking
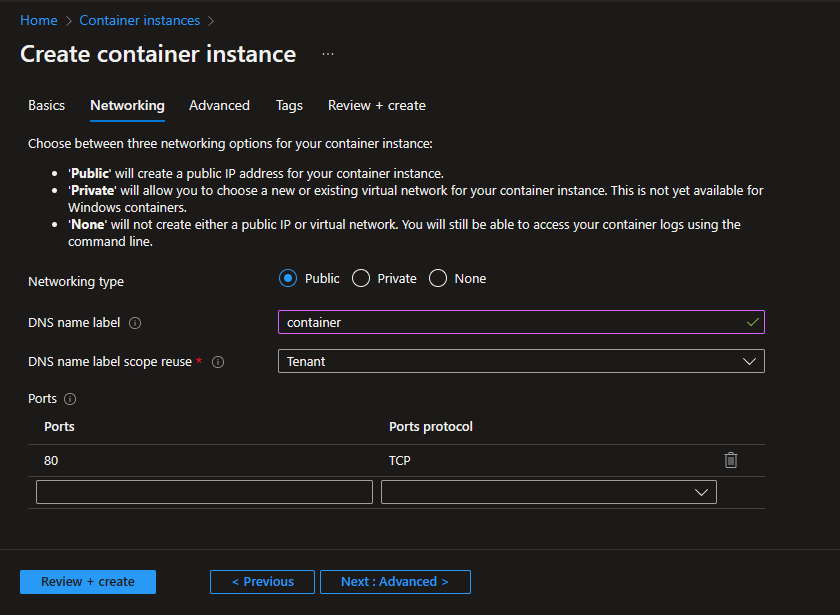
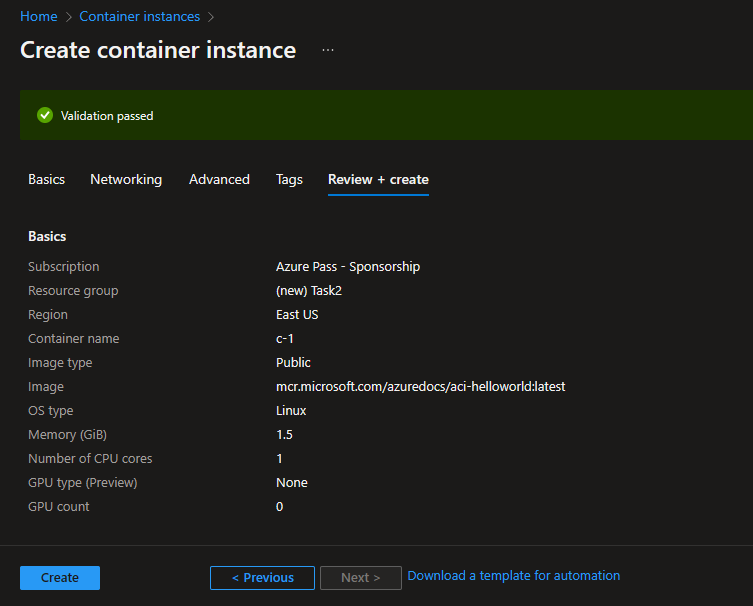
Keep the rest default and click Review + Create. Click Create
Testing
Copy the FQDN – container.egfsfdfacwc2hpdg.uksouth.azurecontainer.io
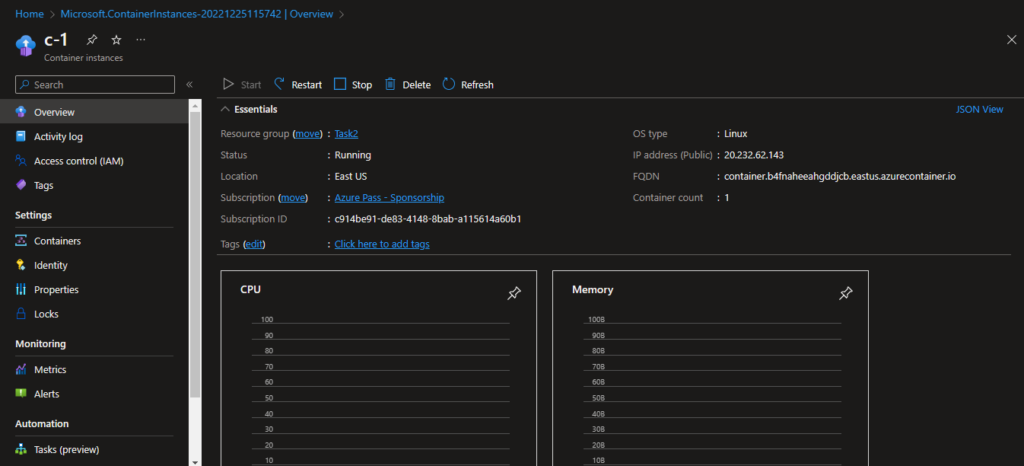
Search the FQDN in web browser.
Task 3: Describe the difference between Virtual Machines and Containers.
Virtual Machine
The entire emulation of low-level hardware devices, such as CPU, disk, and networking devices, is provided by virtual machines, which are large software packages.
Containers
Containers are small software packages that include all the requirements needed to run the software application they contain. System libraries, external third-party code packages, and other operating system-level programs are some examples of these dependencies.
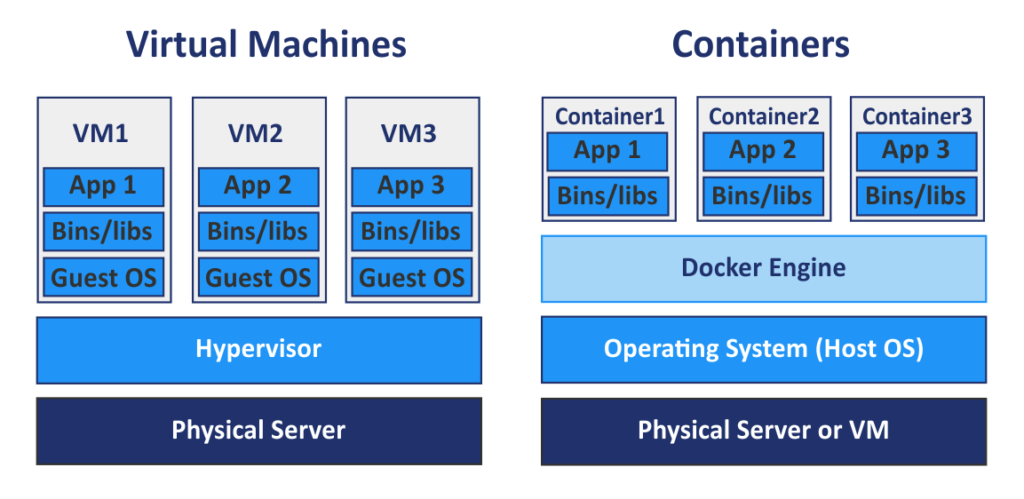
Difference
Virtual machines virtualize an entire machine down to the hardware layers, whereas containers only virtualize software layers above the operating system layer, which is a key difference between the two.