Introduction
Sangfor NGAF is Next Generation Application Firewall. Key Features with Application awareness and control, integrated intrusion prevention, Deep Packet Inspection (DPI), Integrated Intrusion Protection System (IPS), Cloud-delivered threat intelligence, Secure Sockets Layer (SSL) Inspection and Secure Shell (SSH) Control, Sandbox Integration, all with no impact on performance.
In this blog. We will look what we can configure with the Basic Functionality (Trial Version) of Sangfor NGAF
Configuration with free license for virtual appliance.
Table of Content
- Configure the Sangfor adapters and get Web Interface to management VM
- Configure the Client VM adapter (Testing the Polices)
- Create the Zones – lan & wan
- Create the Network Objects (Used to pool set of Ip address)
- Create the NAT (NAT the LAN to WAN zones)
- Create Policy Group
- Make the policies (Blocking Social Media)
- Additionally:
- Let’s configure Content Security Template (Allow/Deny Specific URL during Internet Access Scenario)
.
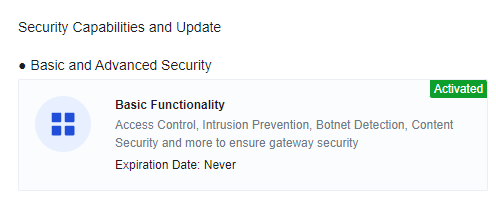
Free Trial Features
Setups
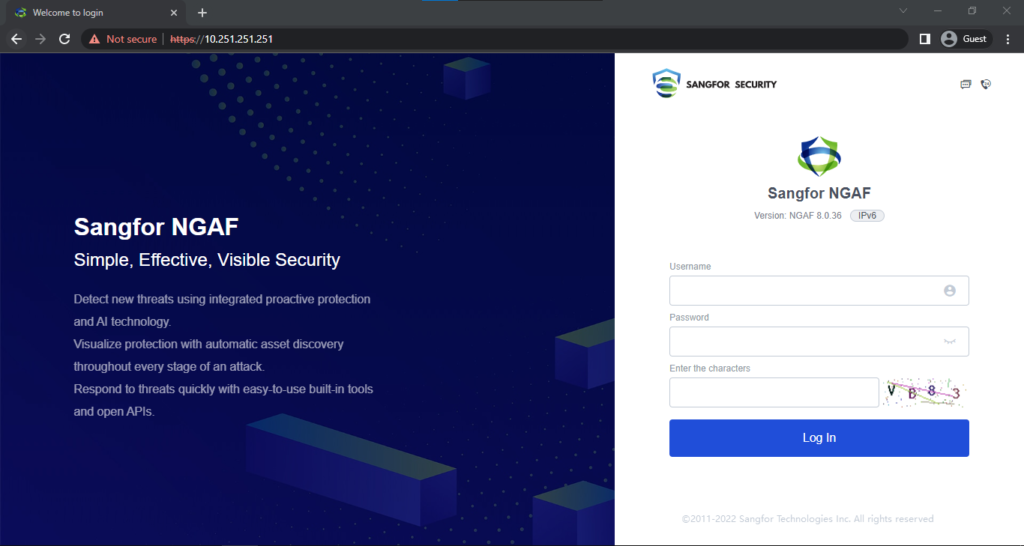
The Web Interface
Username: adminPassword: Abc@1234Login URL:https://10.251.251.251Management Port: eth0
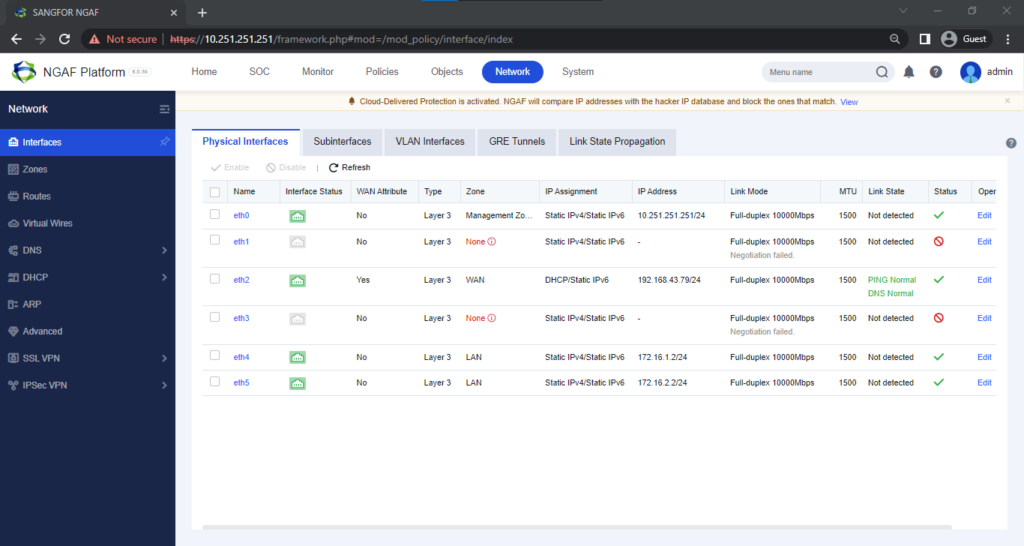
The Port Interfaces
The interfaces on the device panel correspond one to one (for example, eth0 corresponds to the management interface) Physical interfaces cannot be deleted or added.
Zones
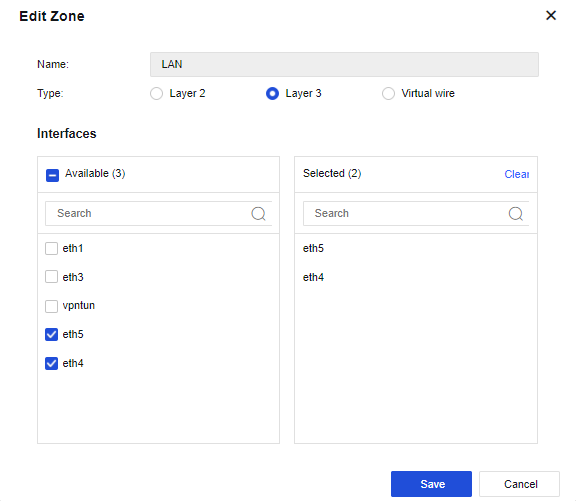
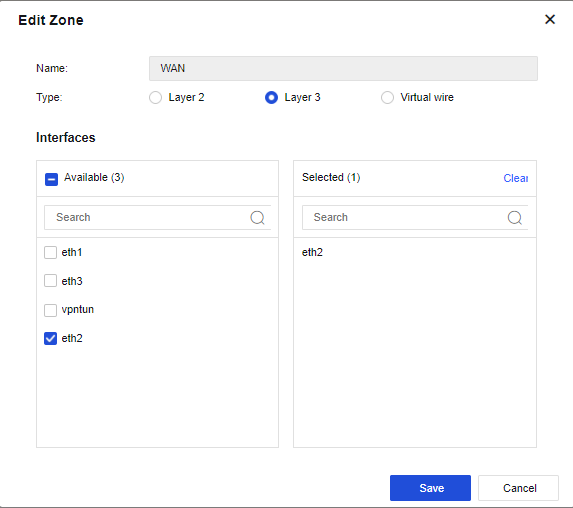
- Layer 3 zones: All routing interfaces can be selected, including routing interfaces, subinterfaces, and VLAN interfaces.
In our case scenario we have LAN ZONE connected to eth4 & eth5 which will have the local Clients and then WAN ZONE connected to eth2 to access the Internet.
In the Network Tab Select Zones
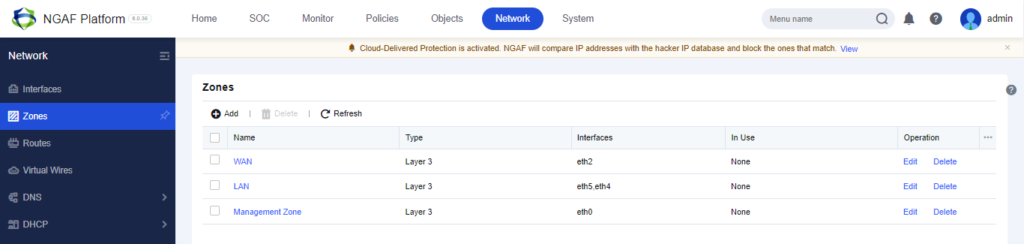
LAN ZONE – eth5 and eth4
WAN ZONE – eth2
Network Object
Network Objects provide simpler management for firewall rules. At a glance, Network Objects map a name to a specific Source/Destination value: IP address, IP Subnet, FQDN or Wildcard FQDN.
After creating the LAN ZONE. I will add the network object as IP address for my client who are connected to this.
In the Object Tab Select Network Object and click Add – Address
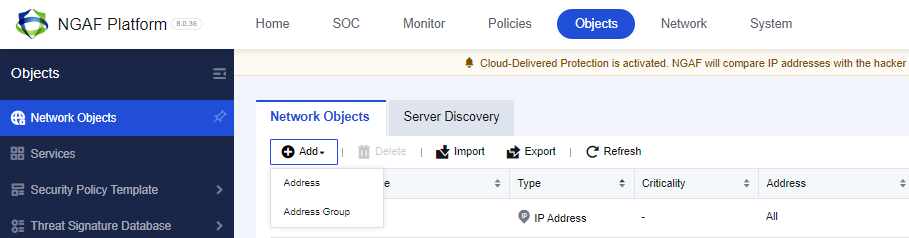
In this Lab we will be adding the department IP Range and then Click Save.

NAT
Network Address Translation (NAT) supports source network address translation (Static NAT) and destination network address translation (Dynamic NAT), implementing network communication by translating LAN addresses into Internet addresses.
Sangfor Provides 3 NAT Solution:
- Source NAT, when the device is deployed at the internet egress and acts as a proxy for LAN users to access the internet, you must add a SNAT policy to translate the source IP address.
- Destination NAT, This function is often used to publish servers by mapping the services of LAN servers to the internet so that internet users can access internal servers through the public IP address.
- Bidirectional NAT, This function is often used to publish servers by mapping the services of LAN servers to the internet so that external and internal users can access internal servers through the public IP address.
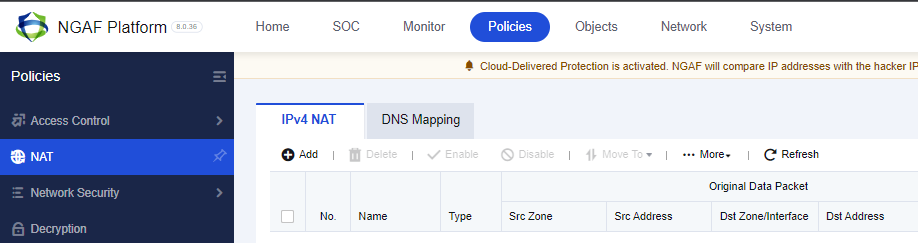
We need to let the LAN ZONE to communicate Internet to test the Policies. So we will be using SOURCE NAT in this LAB. Click on Policy Tab and Select NAT
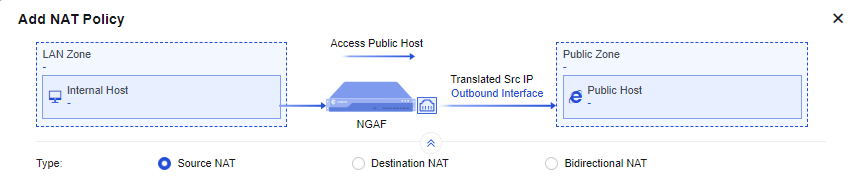
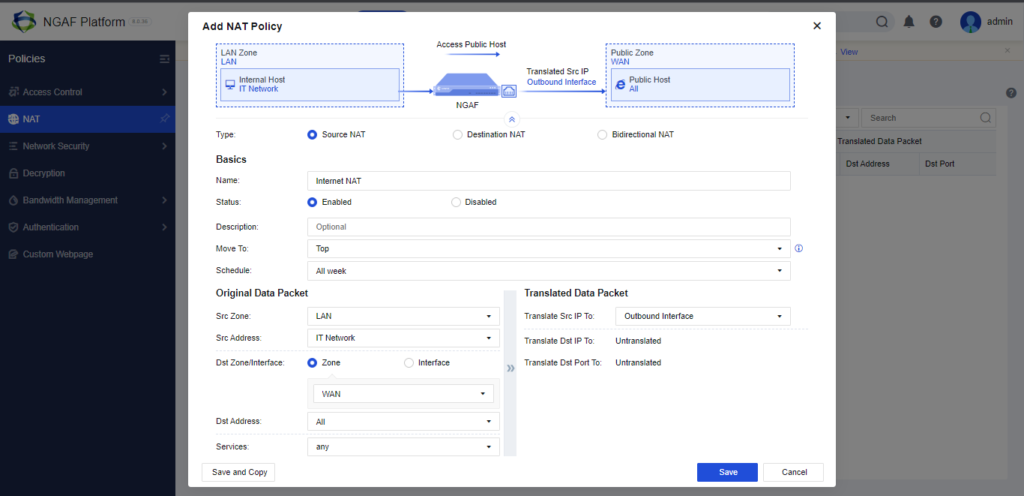
After clicking Add you can select what type of NAT needs to be configured with the diagram of how it works in your env.
Configure it accordingly and then Save.
Access Control
This function includes functional modules such as application control policy, regional access control, local ACL, connection number control, web keyword detection, and protocol command control.
Creating Application Control will be in Policies Tab and Select Access Control > Application Control. Then click on Add.
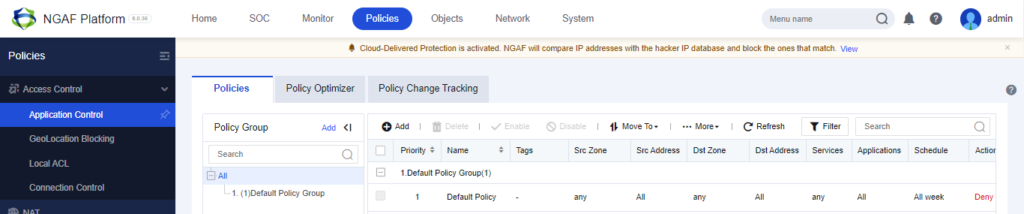
Under this there is Application Control to block/filter traffic using the policies. There’s a by default policy group which blocks.
Since the default policy is Deny. We need to add a Lan to Wan Policy for Allow.
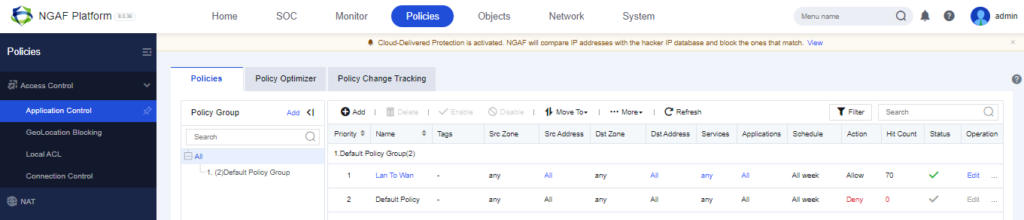
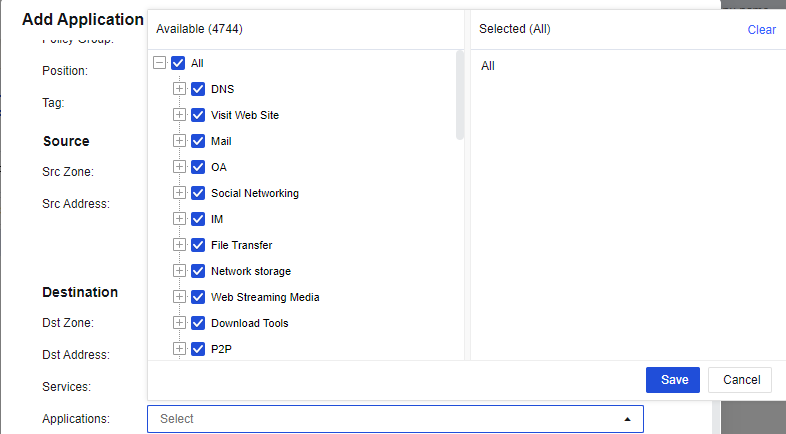
We have to define Name, Src Zone and Dst Zone. In this blog we will be blocking the Web Streaming Platform (YOUTUBE). After Configuring, Click on Save.

Applications – available Applications
Windows Client
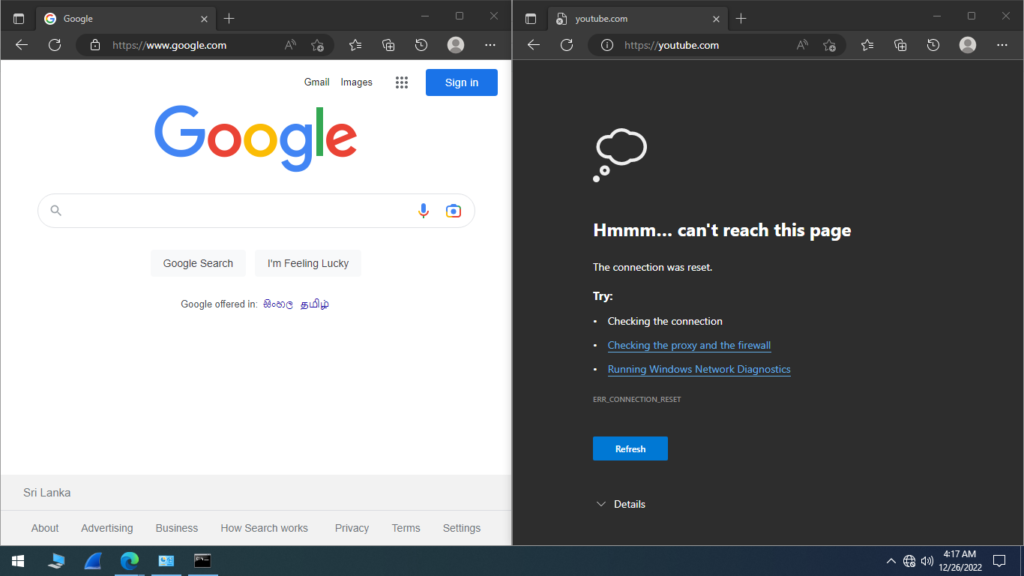
This is the client which is connected to the LAN ZONE in FIREWALL. Which configured in IT Network Object.
As we blocked the Web Streaming Platform, the www.google.com is working and www.youtube.com isn’t working.
Addition.
Policy for internet access scenario mainly protects the end-users of customers, to prevent endpoints from being attacked and improve the security of the LAN.
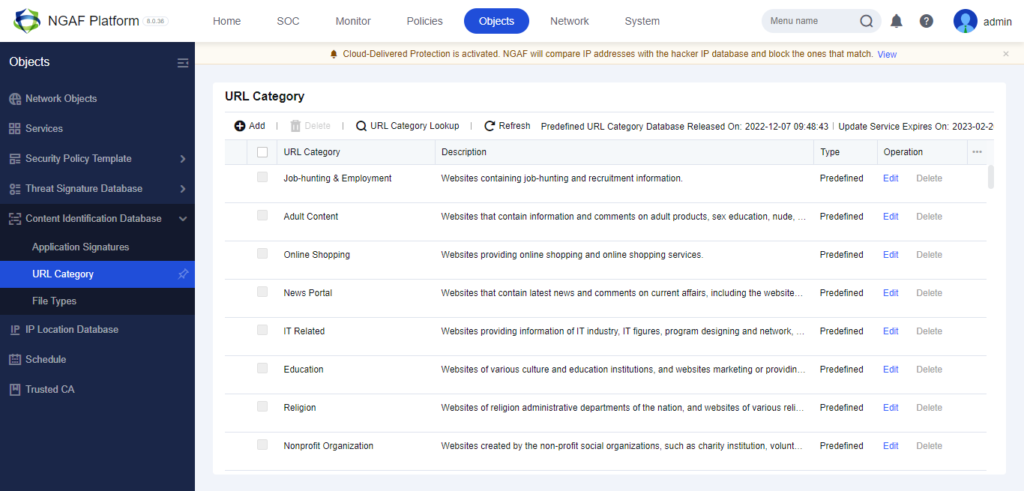
We can also use existing or create URL in the Object>Content Identification Database>URL Category.
In the case of URLs within your region or country will be not predefined so we can add through this.
Predefined. Use URL Category Lookup to find out if the Specific URL is available (inside which category) or not
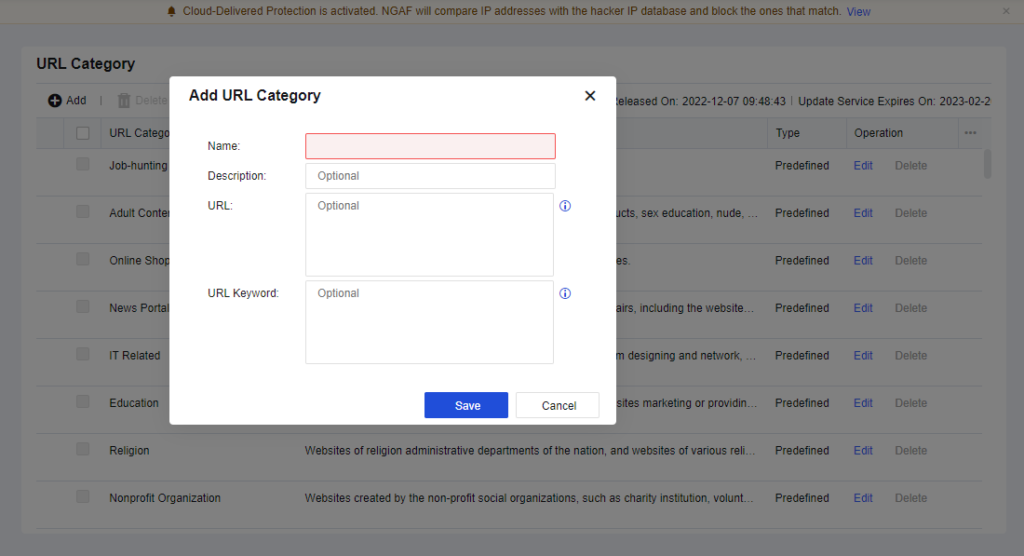
Create Own URL
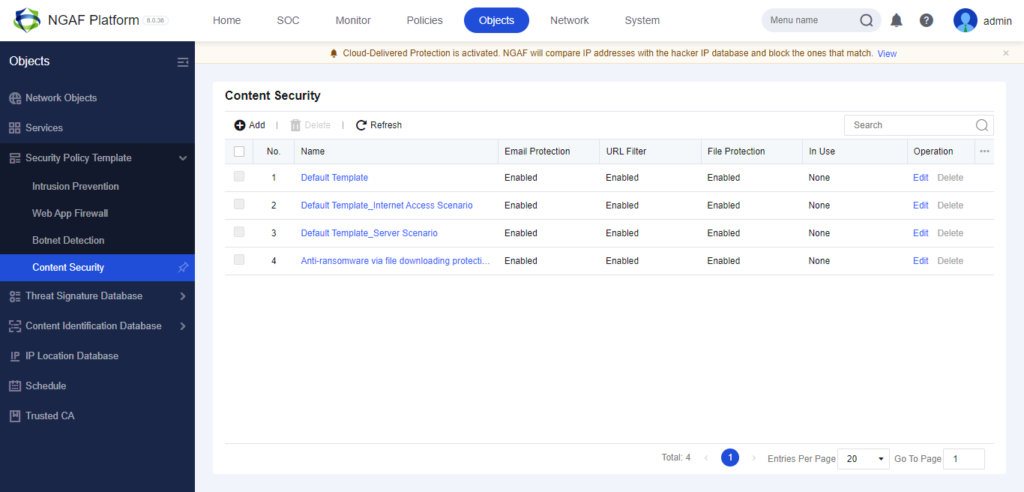
Then Create a Content Security Template under Security Policy Template.
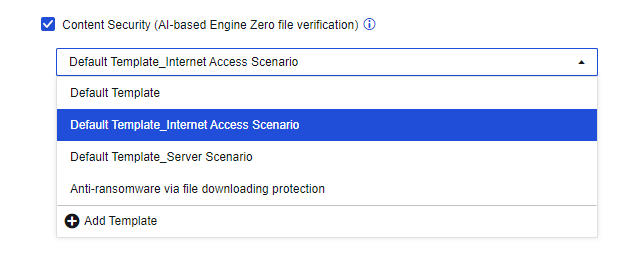
And we are configuring Internet Access Scenario and then add the created template.

Conclusion
This blog post motive is to provide the Free Trial Usage of this NGAF. This will be helpful for Universities Students who having final projects regarding Network Infrastructure, Firewall Administrating and much more.
Since I’m using this Sangfor with License, The Advanced Features are being enabled but when y’all using the trial only the Basic Features will be enabled.
Also if you want to learn more about sangfor visit their Official Website.